Molding & Casting
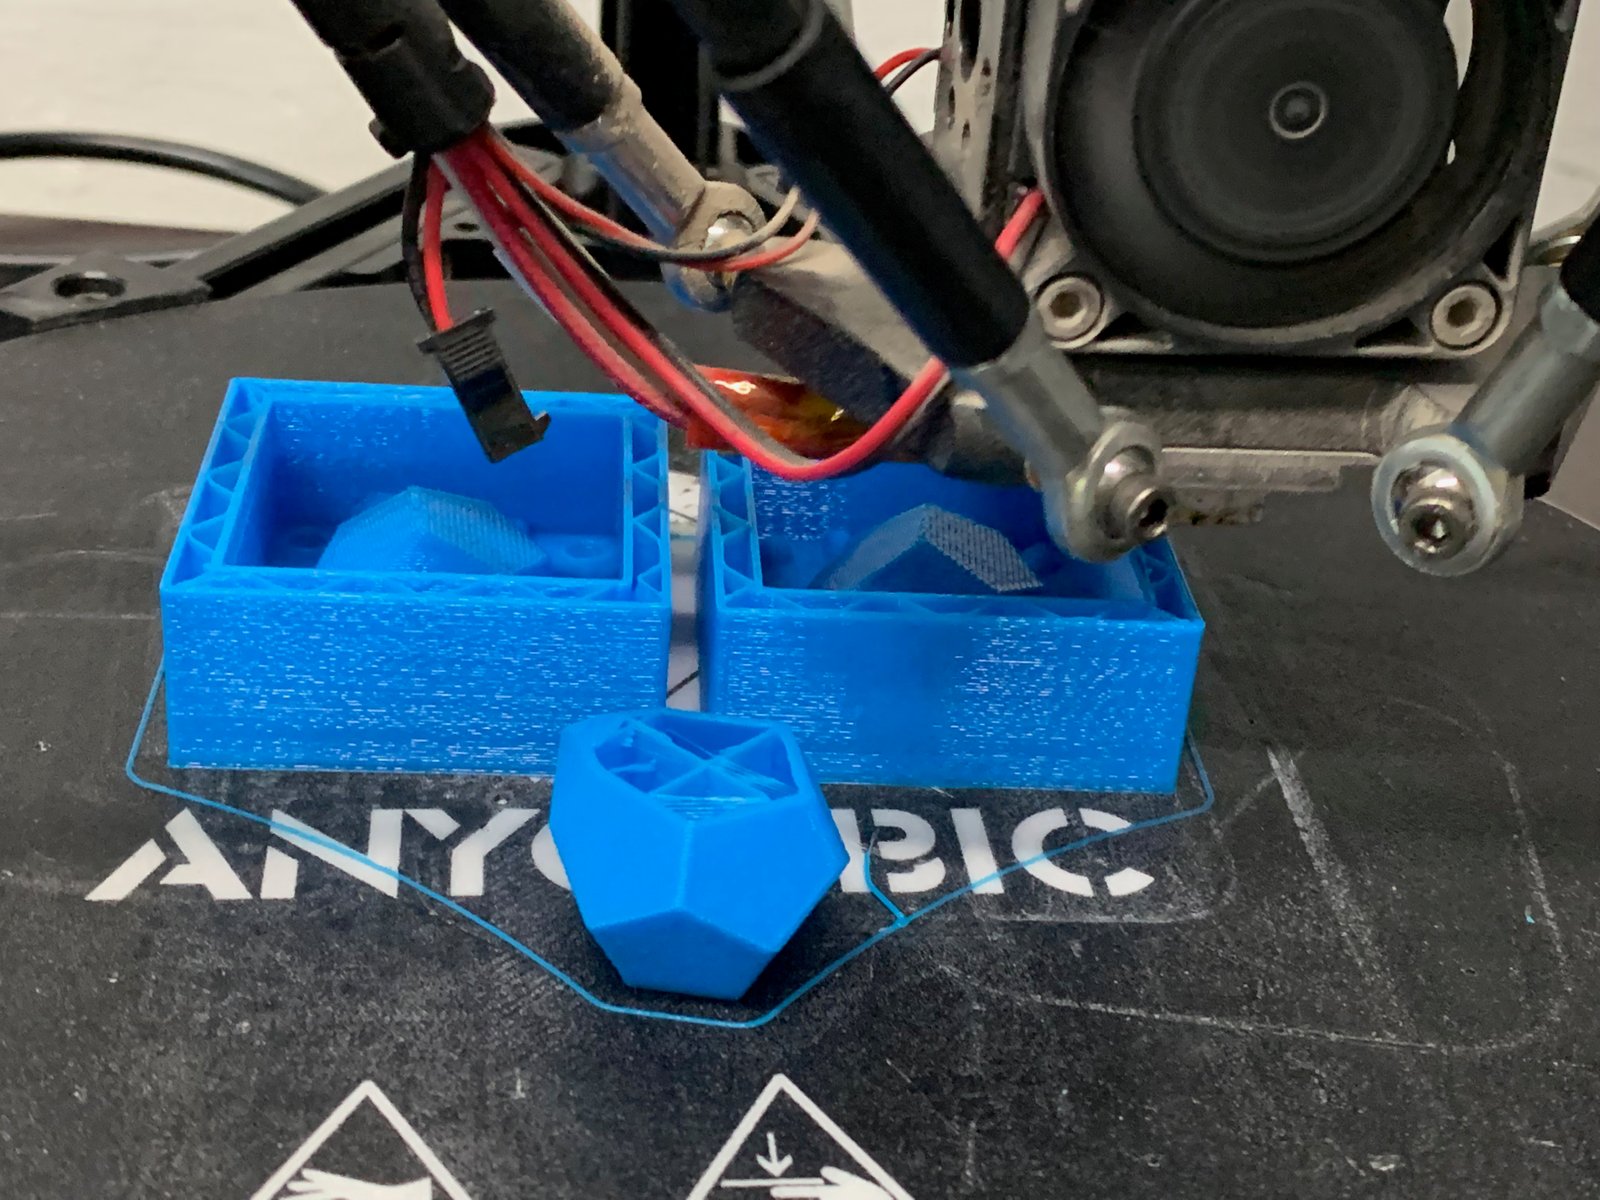
For the moulding and casting week I used the same shape to create two different types of moulds. In both cases, I created the initial moulds using 3D printing with standard PLA filament.
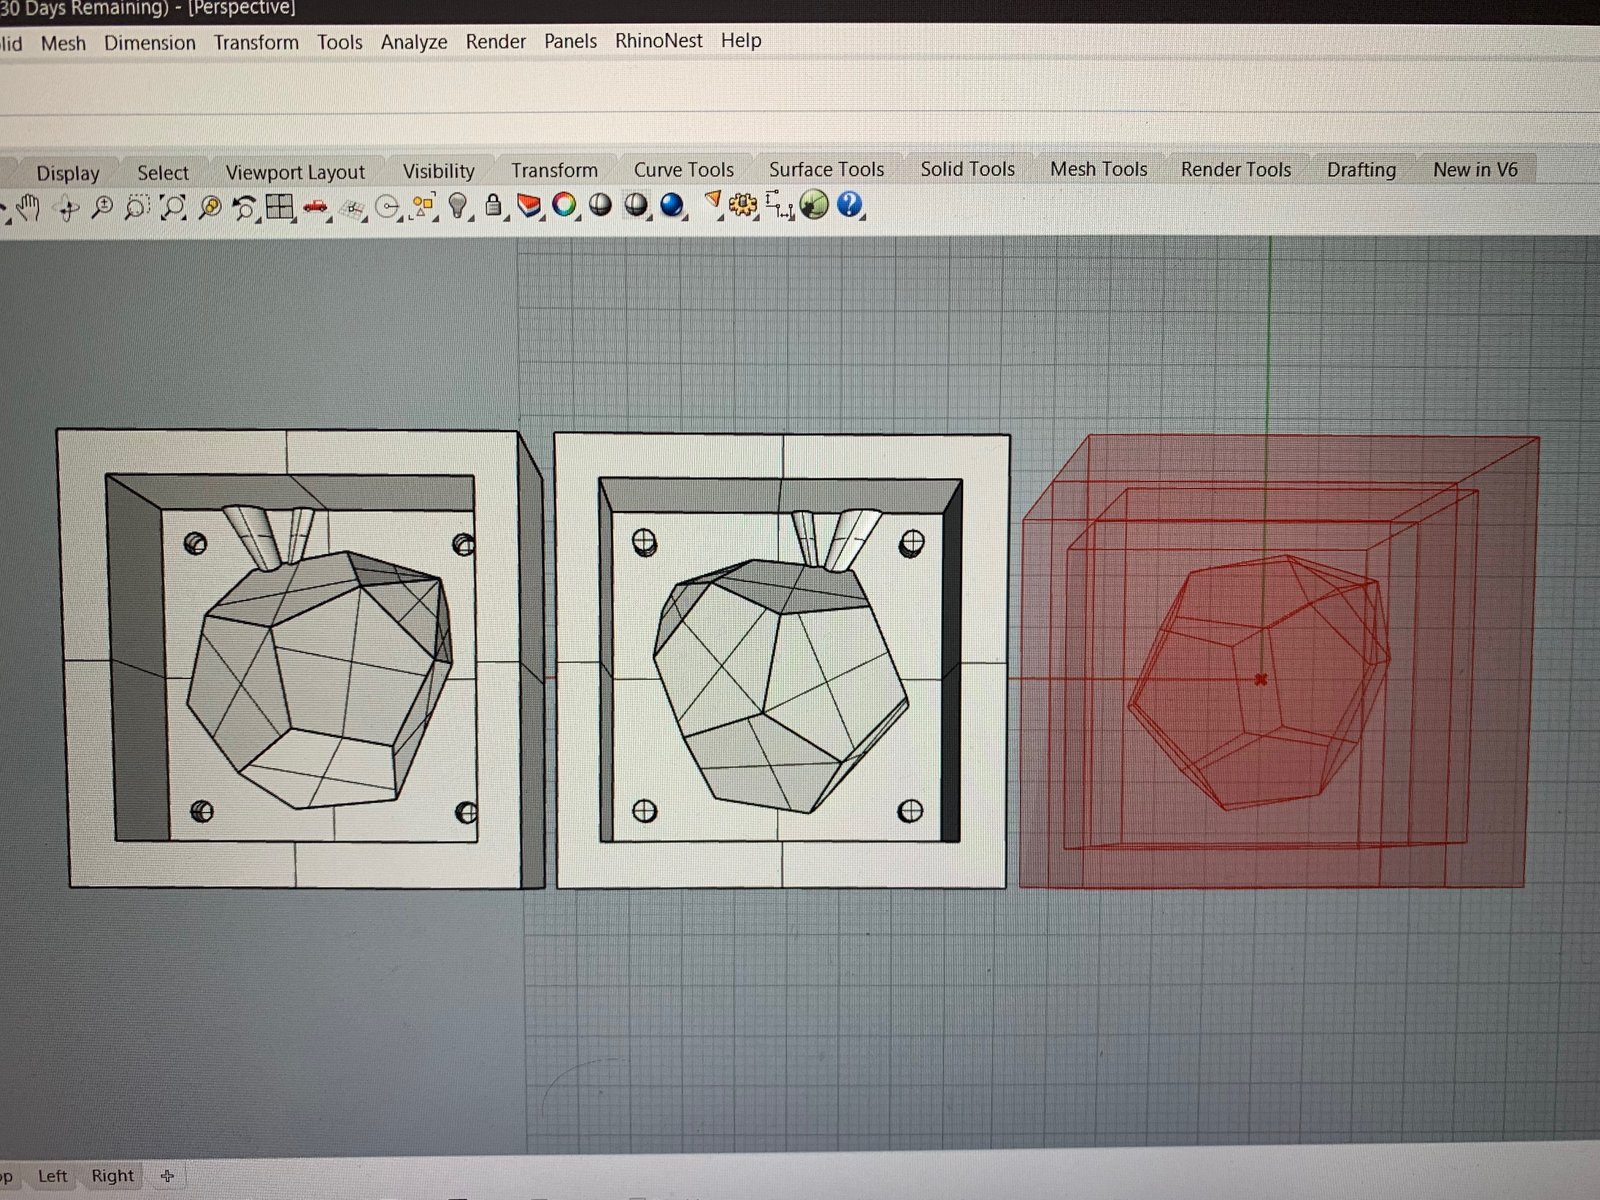
First, I created a negative mould by splitting my shape in two halves and imprinting them into squares with a nozzle for pouring it casting material. I have created the entire design in Grasshopper which was quite challenging at moments. Looking back it was unnecessary amount of extra work but I liked the idea of being able to choose any 3D object and instantly create a negative mould for it.

Unfortunately, I have overwritten my tangled up Grasshopper file with the one used later one for the second type of mould so attached are only STL files used for printing.
For the second type of mould, I have simply printed the desired shape and created the subsequent mould with a minimal DIY setup.

For both moulds I have used the same, less hard, high temperature resistant, silicon mixture Formsil 25 — mix 100 part A to 5 part B. I had to wait 24 hours for the silicon to dry up.
I was casting with pine resin. First, with resin that I have picked myself from Valldaura and rudimentary filtered, mixed with a little bit of bees’ wax, from Valldaura as well. Second, with purified pine resin bought in store.

Negative mould
Despite its rather complex design, the negative mould was quite difficult to use, probably because the nozzle I have created was too narrow.
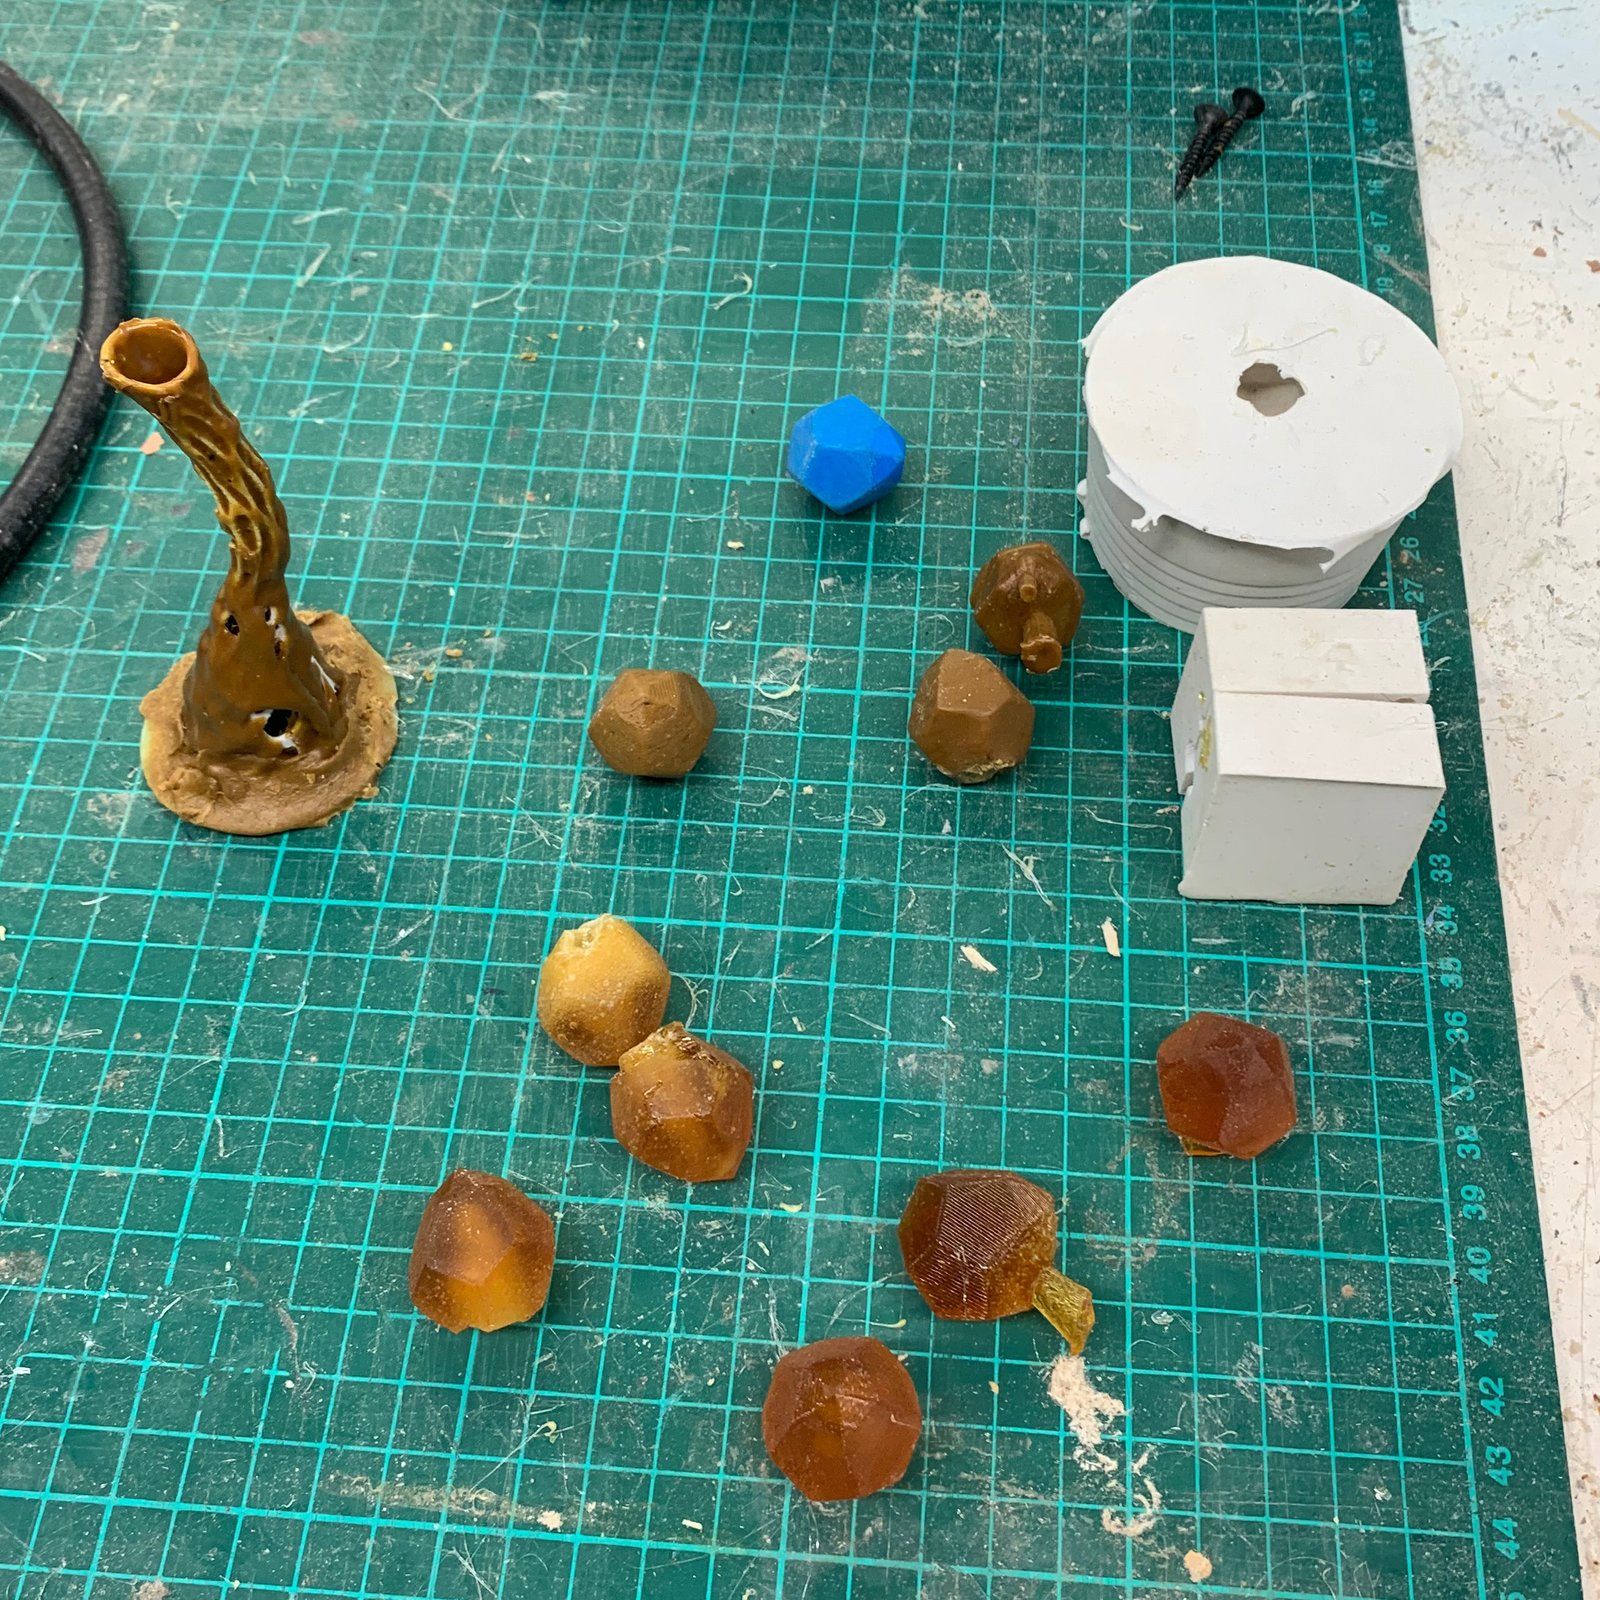
After heating up the DIY resin it starts solidifying almost instantly after you start pouring it. This meant that the nozzle was getting clogged up early on and the finished cast did not look the desired shape, but rather was a series of glued blobs that remotely follow the original shape.
With the store-bought purified it worked quite well since it was more liquid after heating up and took a few moments to solidify, giving me enough time to fill up the entire mould.
Simple mould
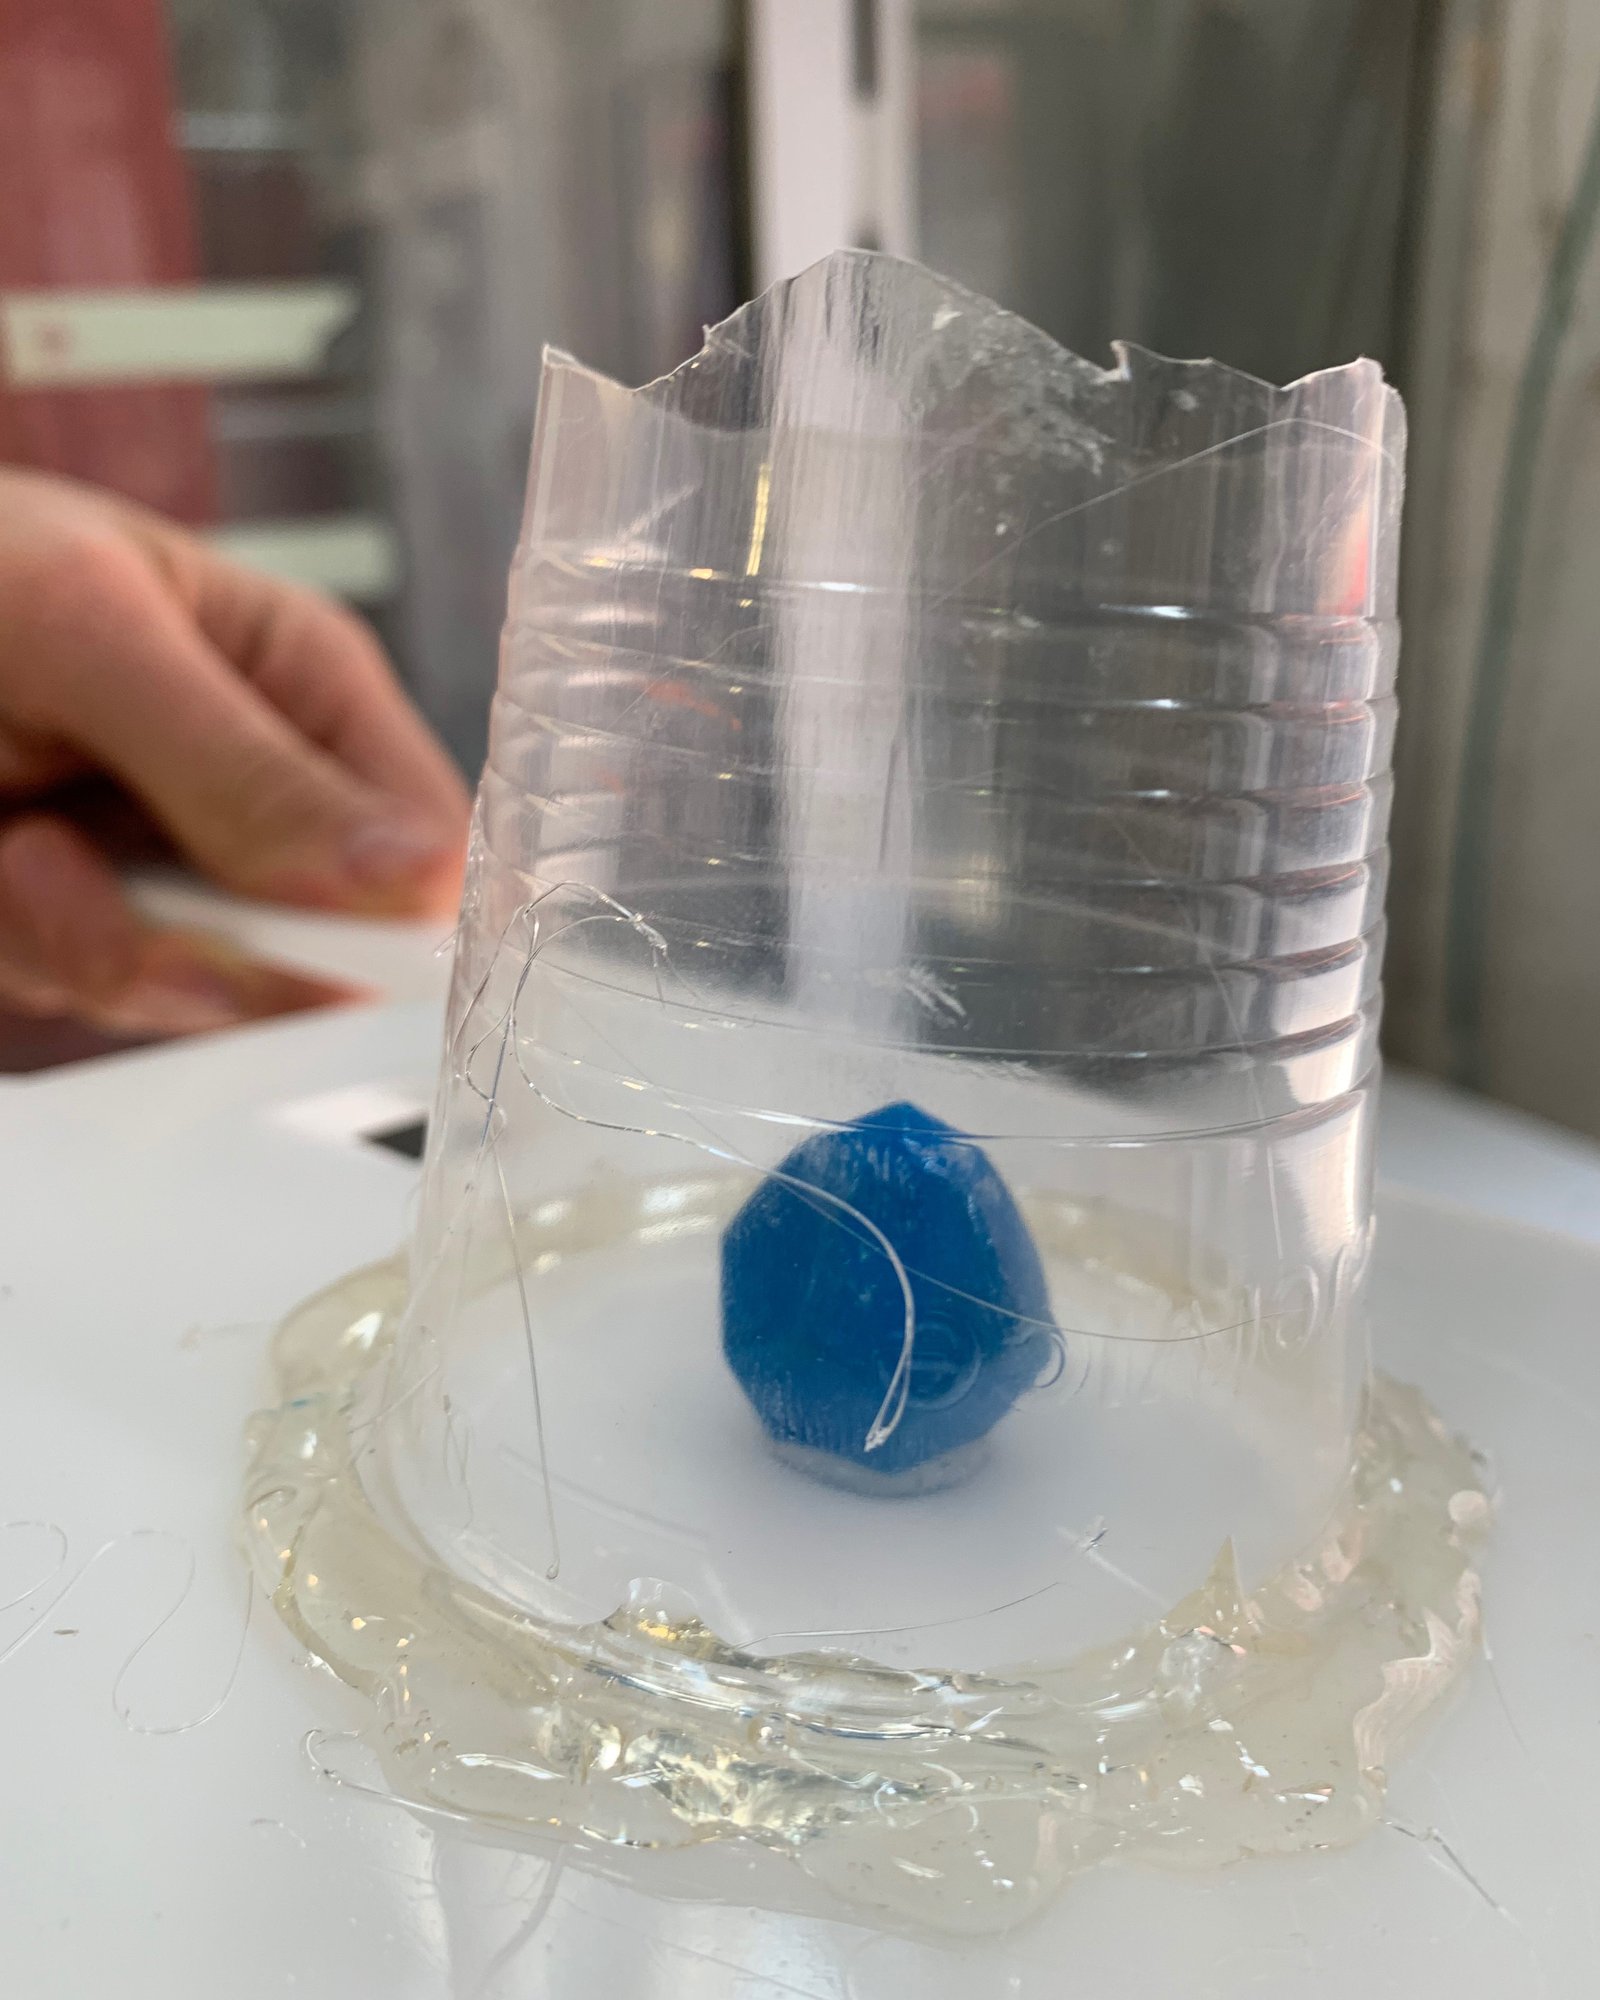
The second type of mould was deceivingly simple to make after following a short YouTube tutorial. First, you stick your shape to base – where the point of connection is that is where you will later have a hole in your silicon for pouring in the material. Since my crystal-like shape had nice and flat surfaces, the entire side served as a base. Second you cut a plastic cup and stick it to the same base.

Then you simply pour in the silicon mixture, wait for it to dry until next day, remove the plastic cup and the base and you got yourself a super easy-to-use mould.
This type of mould worked nicely with my DIY resin mixture, since the pouring hole, comprised of one entire side of the shape, was large enough to pour enough material in before it dries up or clogs the hole.
The only downside of this type of mould is that you have to force your cast out of the mould. So if you use softer silicon and you have a solid and relatively rigid object it is fine. But if you have an intricate and fragile object, the odds are that you will break you cast while taking it out.
Results

