Computer-Controlled Cutting
PiBox
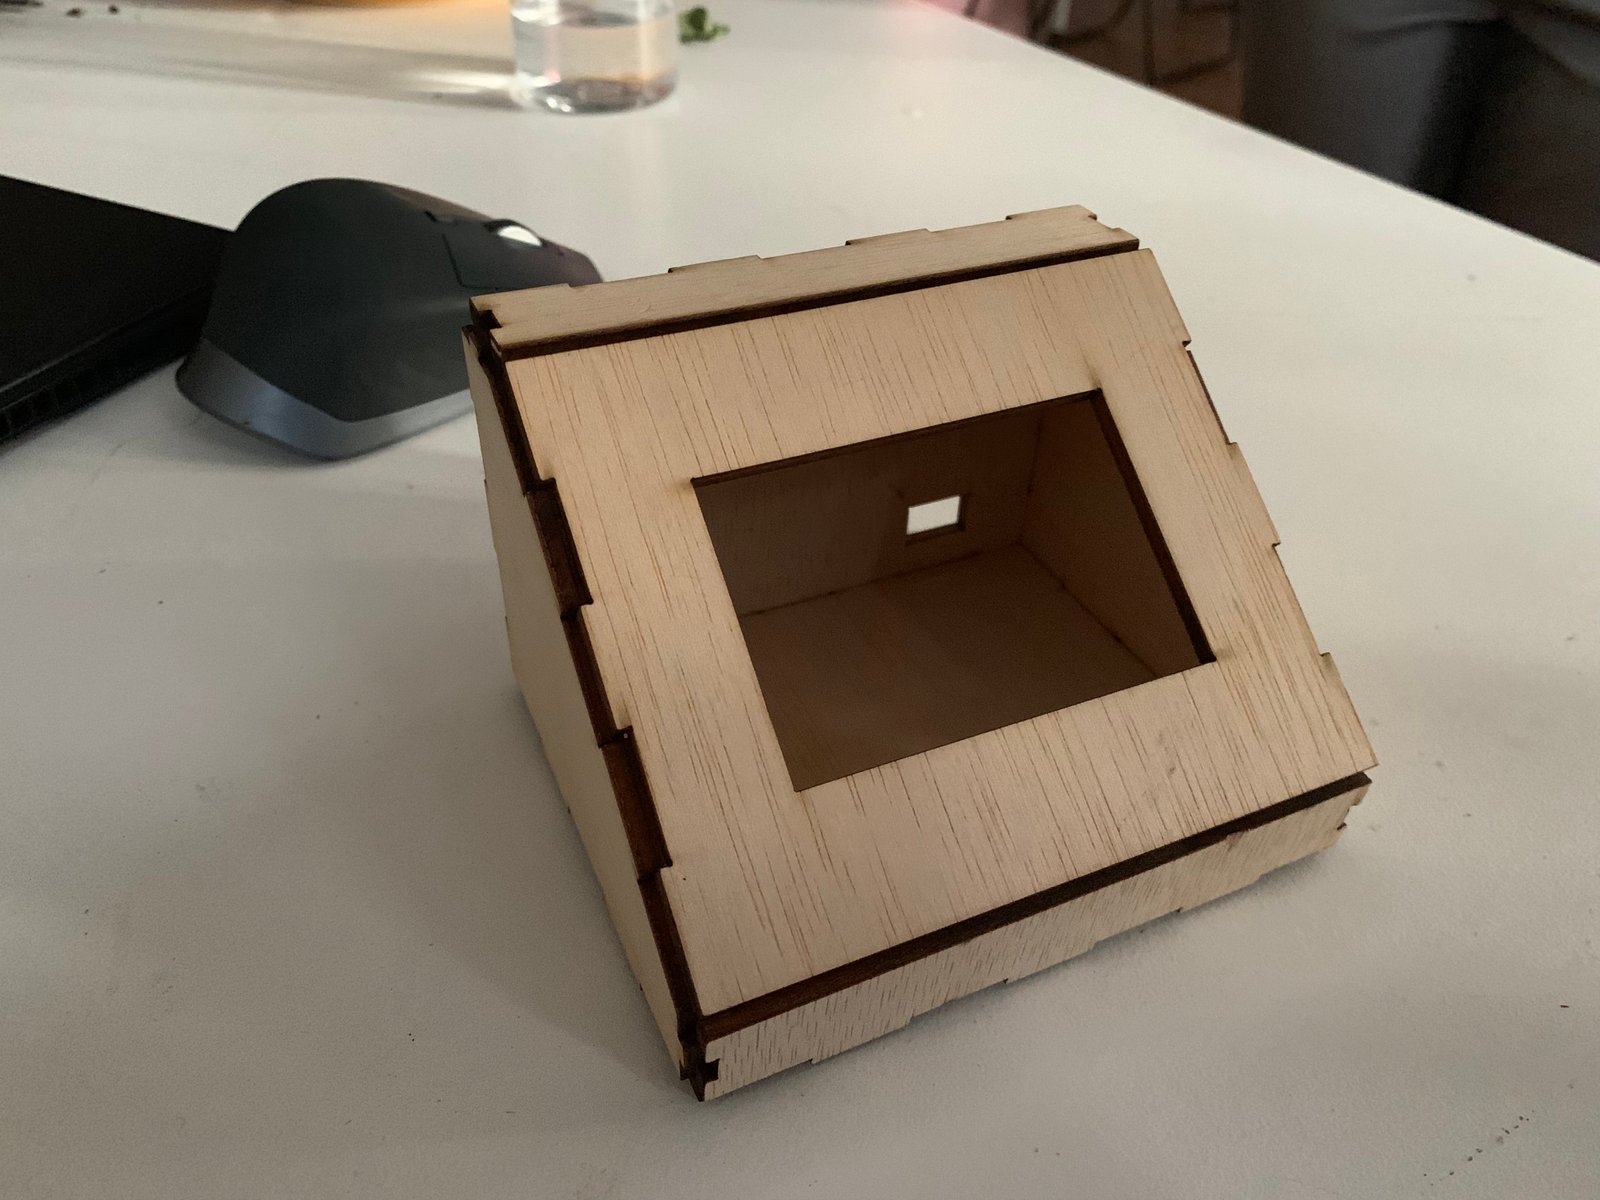
I needed a container box for a Raspberry Pi project at home so I decided to use the opportunity to design and laser cut a box.
The box needed to be big enough to hold Raspberry Pi with a touchscreen LCD attached to it. It also had to have an opening for the display, as well as an opening for power supply cable.
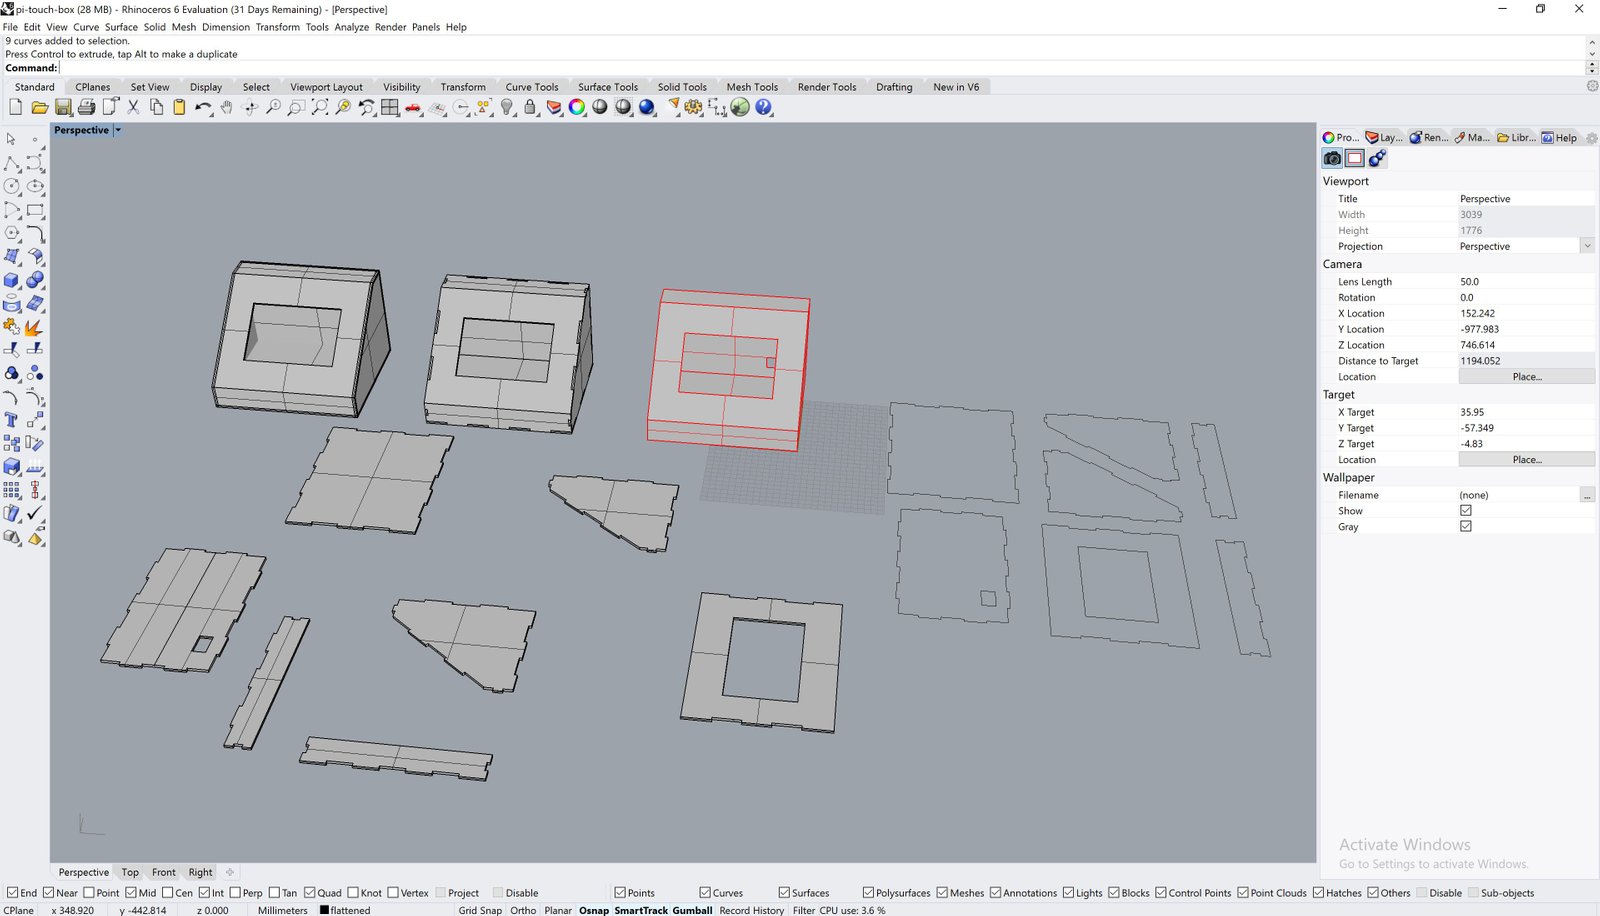
I modelled the box in Rhino and used a fingerjoint Python script by egradman to create evenly spaced joints since I wanted to avoid doing each joint manually. It took a moment to figure out how does the script function, but once I wrapped my head around it was easy to create neat looking joints for the box.
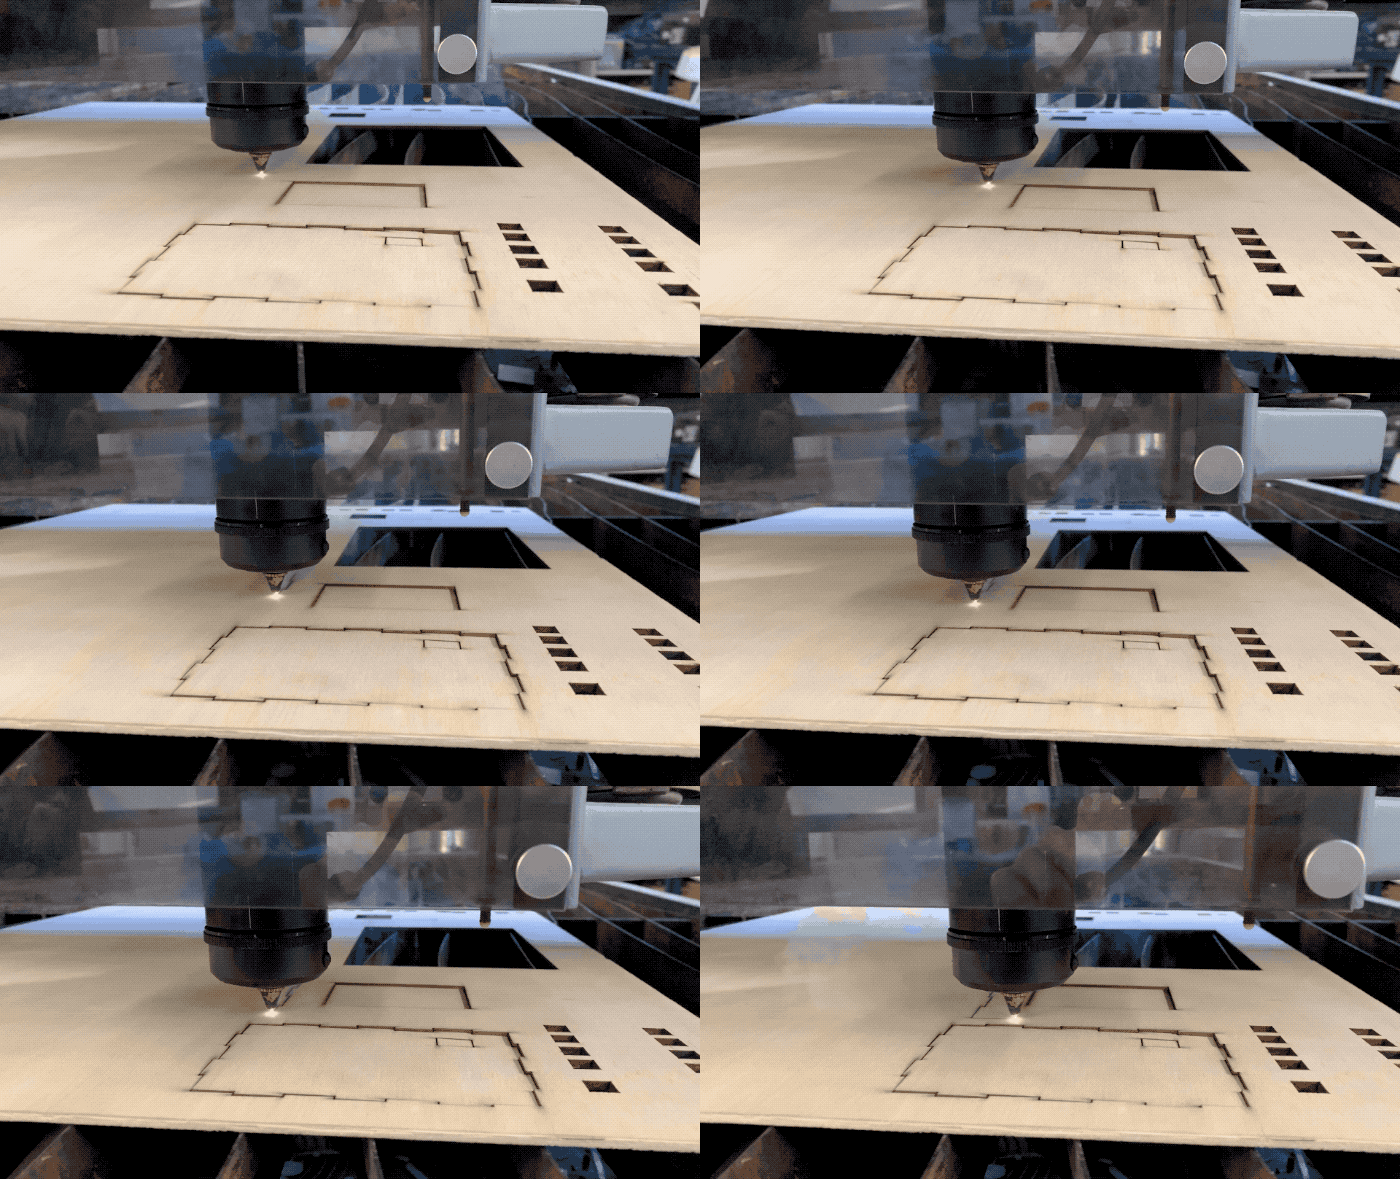
Time for laser cutting! I choose a piece of plywood to run the test cut on. I made a tiny square and laser cut it with different parameters until I got a satisfying result — a clean cut without flames or excessively burned edges. I then laser cut my box pieces.
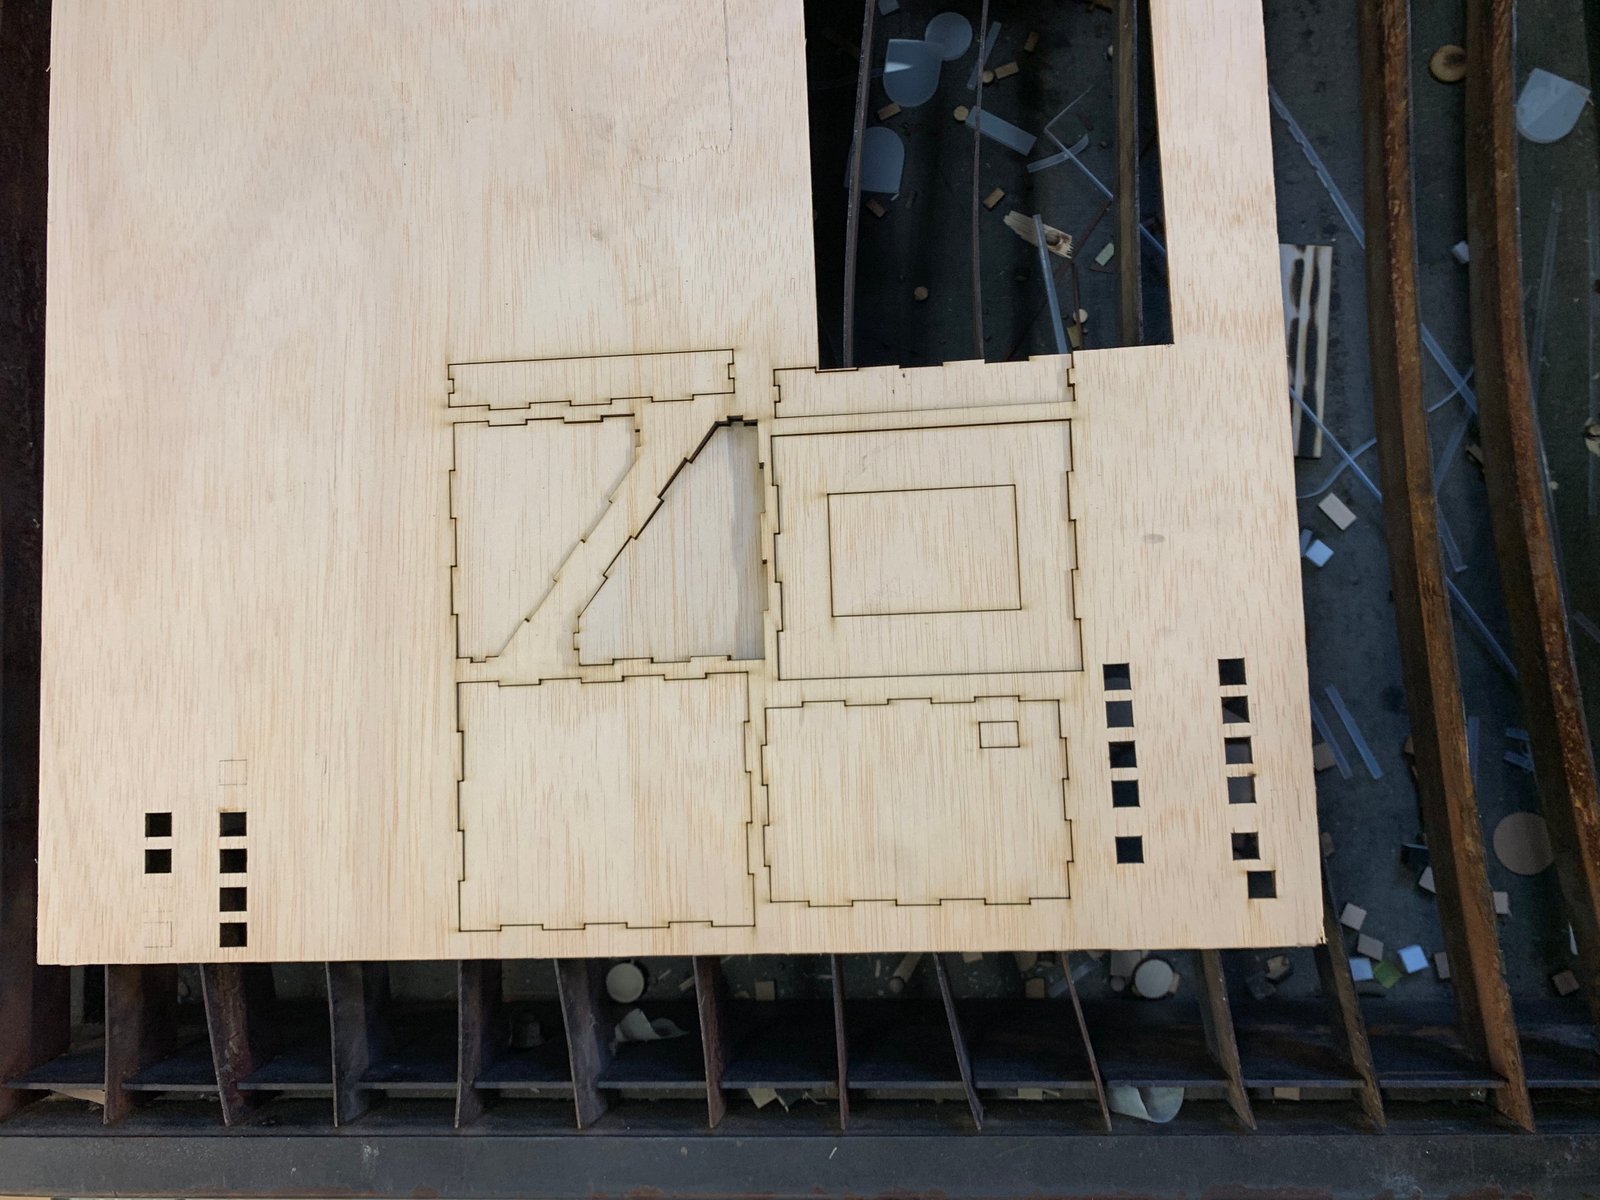
Once I started assembling the box something didn’t feel right. It took me a moment to realise that the edges of the joint are off by a few millimetres.
I have designed my box with particular thickness of the material in mind, but the final piece of wood I chose didn’t have the same thickness so the pieces didn’t fit properly. I could still sort of assemble the box and glue it.
Takeways:
- use cardboard first for prototyping and debugging designs
- throughout the process make sure you always check the thickness of the material and whether your design corresponds to it
- measure twice, cut once
Laptop stand
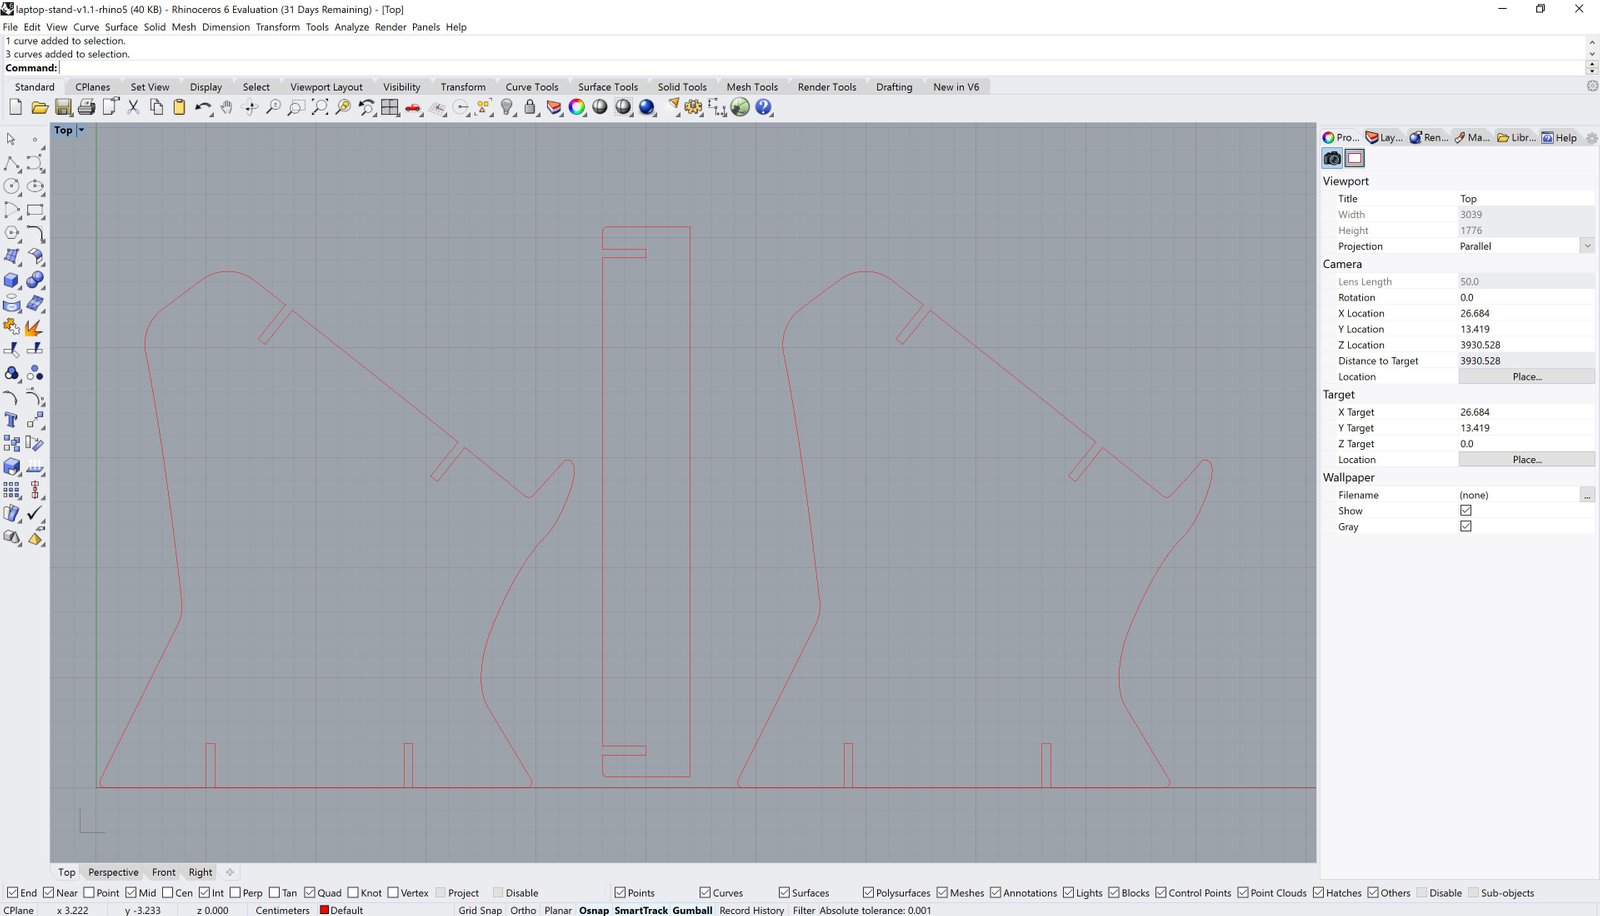
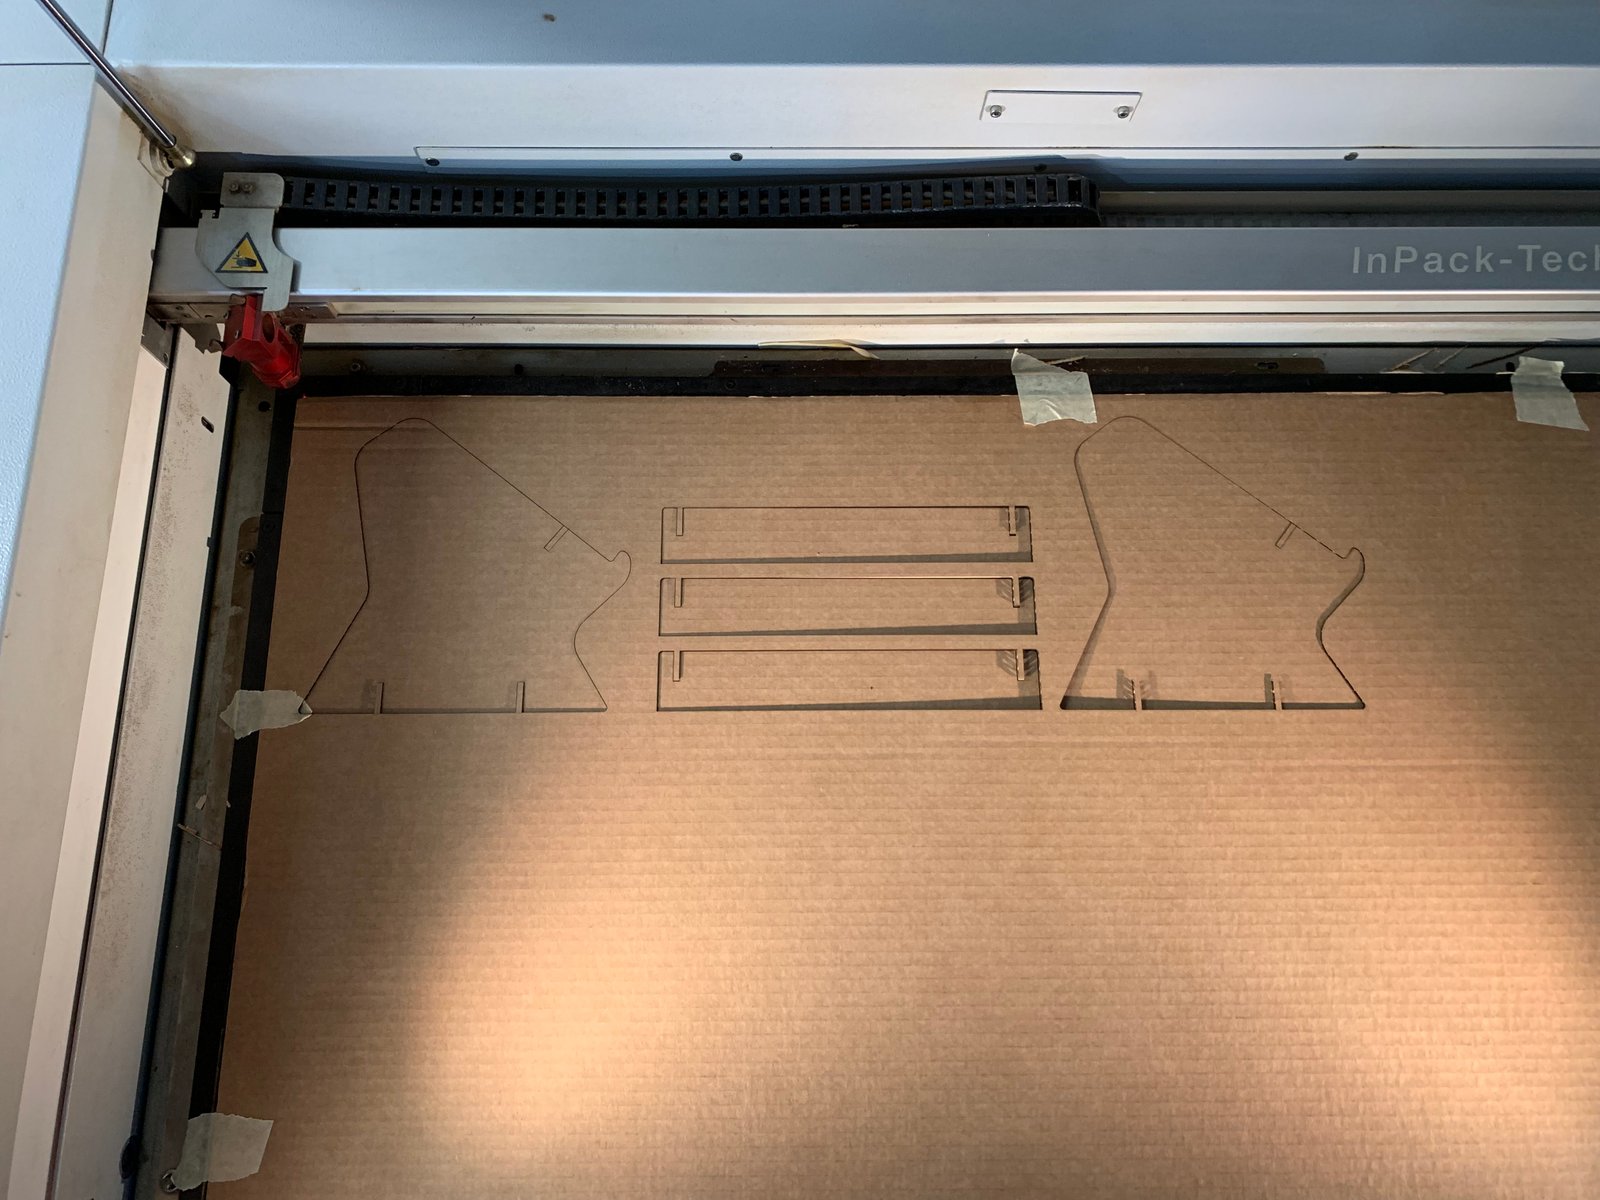
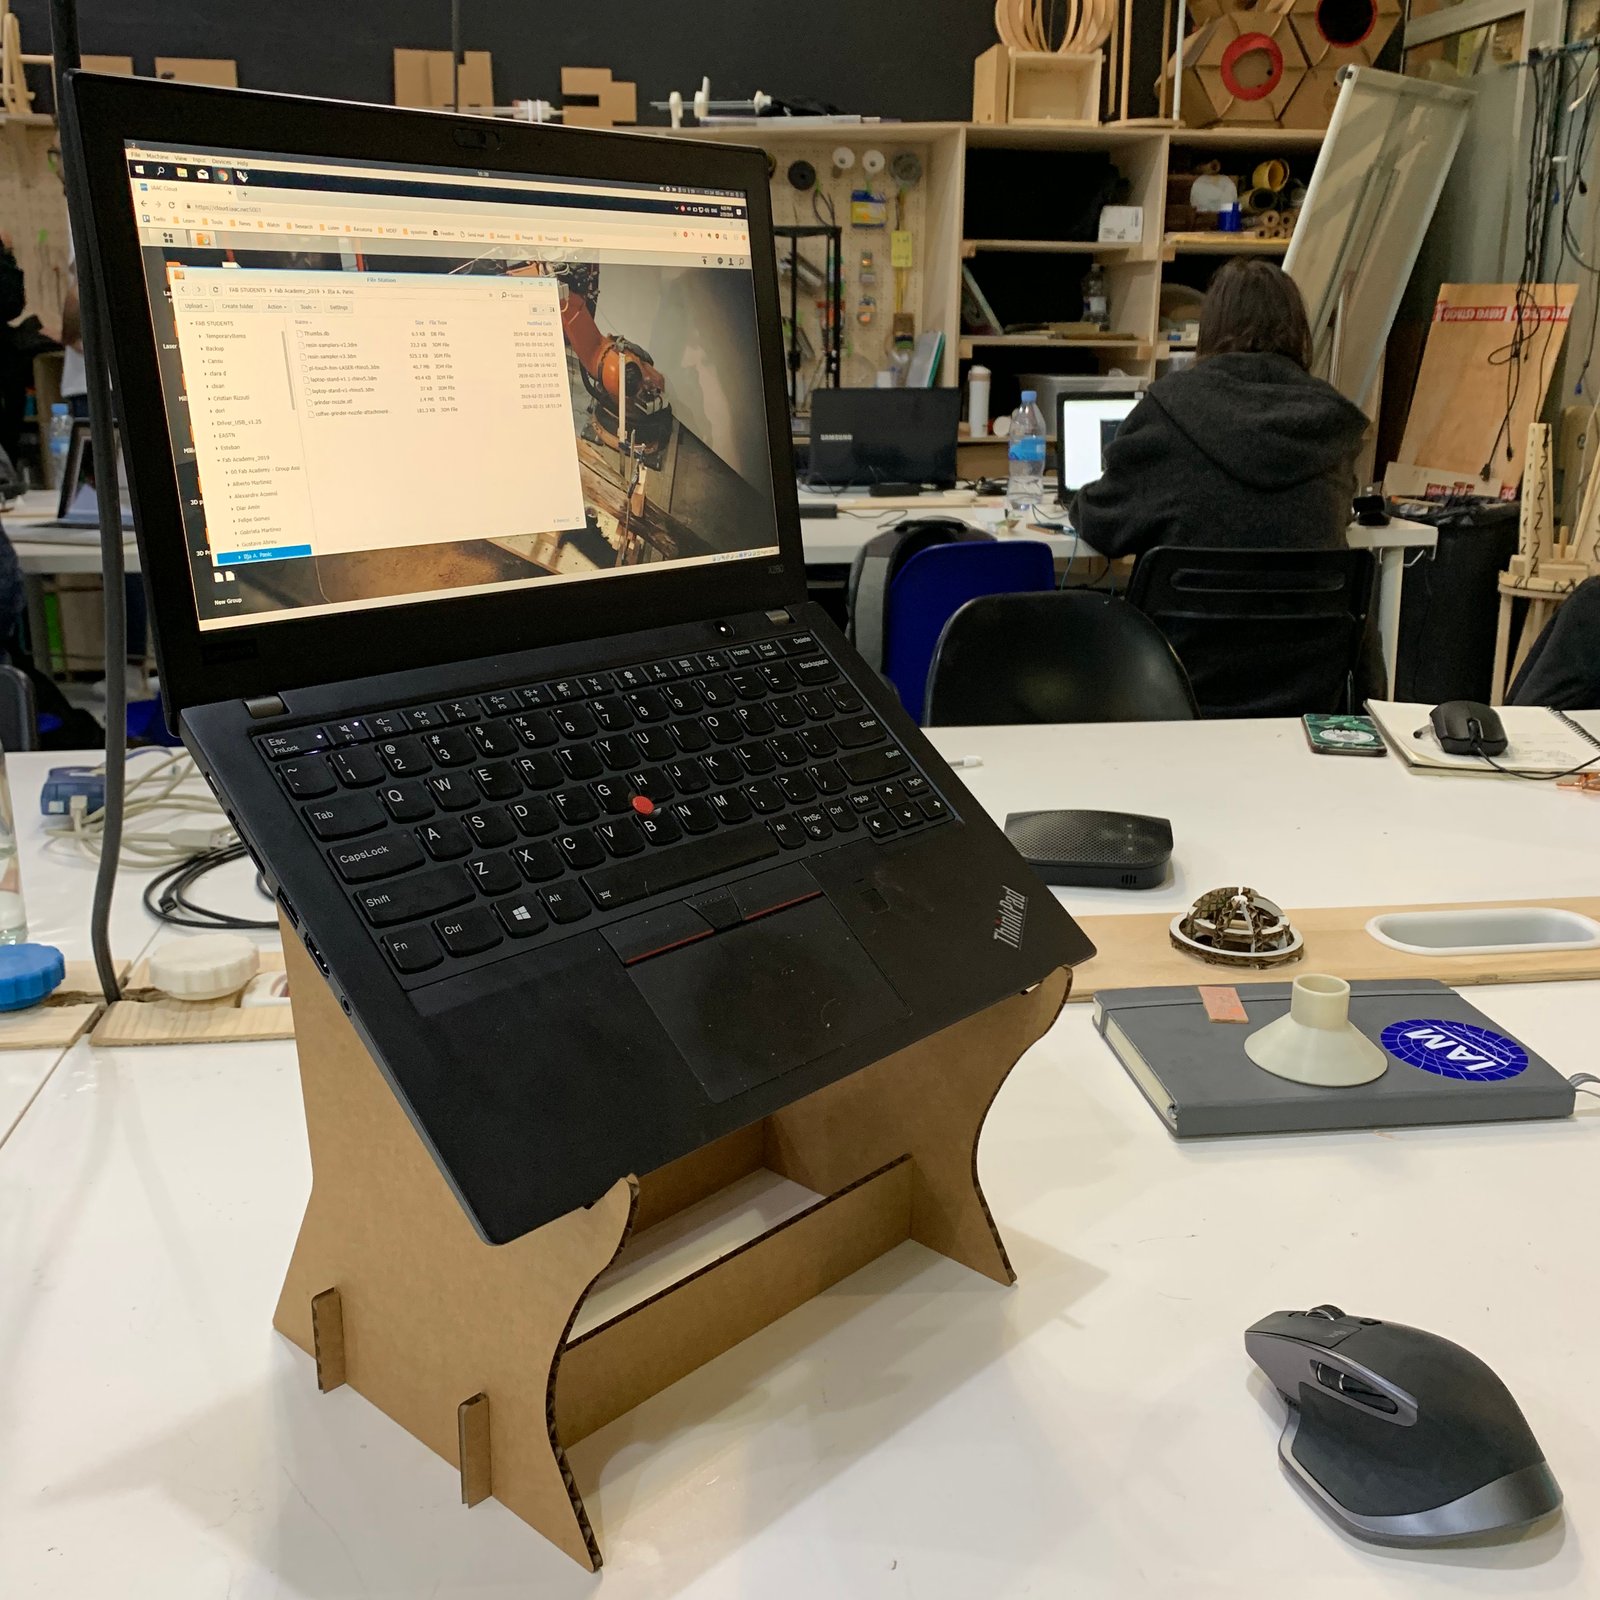
At home I use a laptop stand I got for a few bucks of Amazon. It helps me sit more up-straight and not hunch in front of my laptop so much. I wanted the same experience while in the lab so I decided to cut a simple cardboard laptop stand.
The design is not very intriguing or aesthetically pleasing. But the whole thing took me about 90 minutes — from the initial idea, to modelling and laser cutting. It was a nice example of day-to-day useful fabrication.
Other cuts
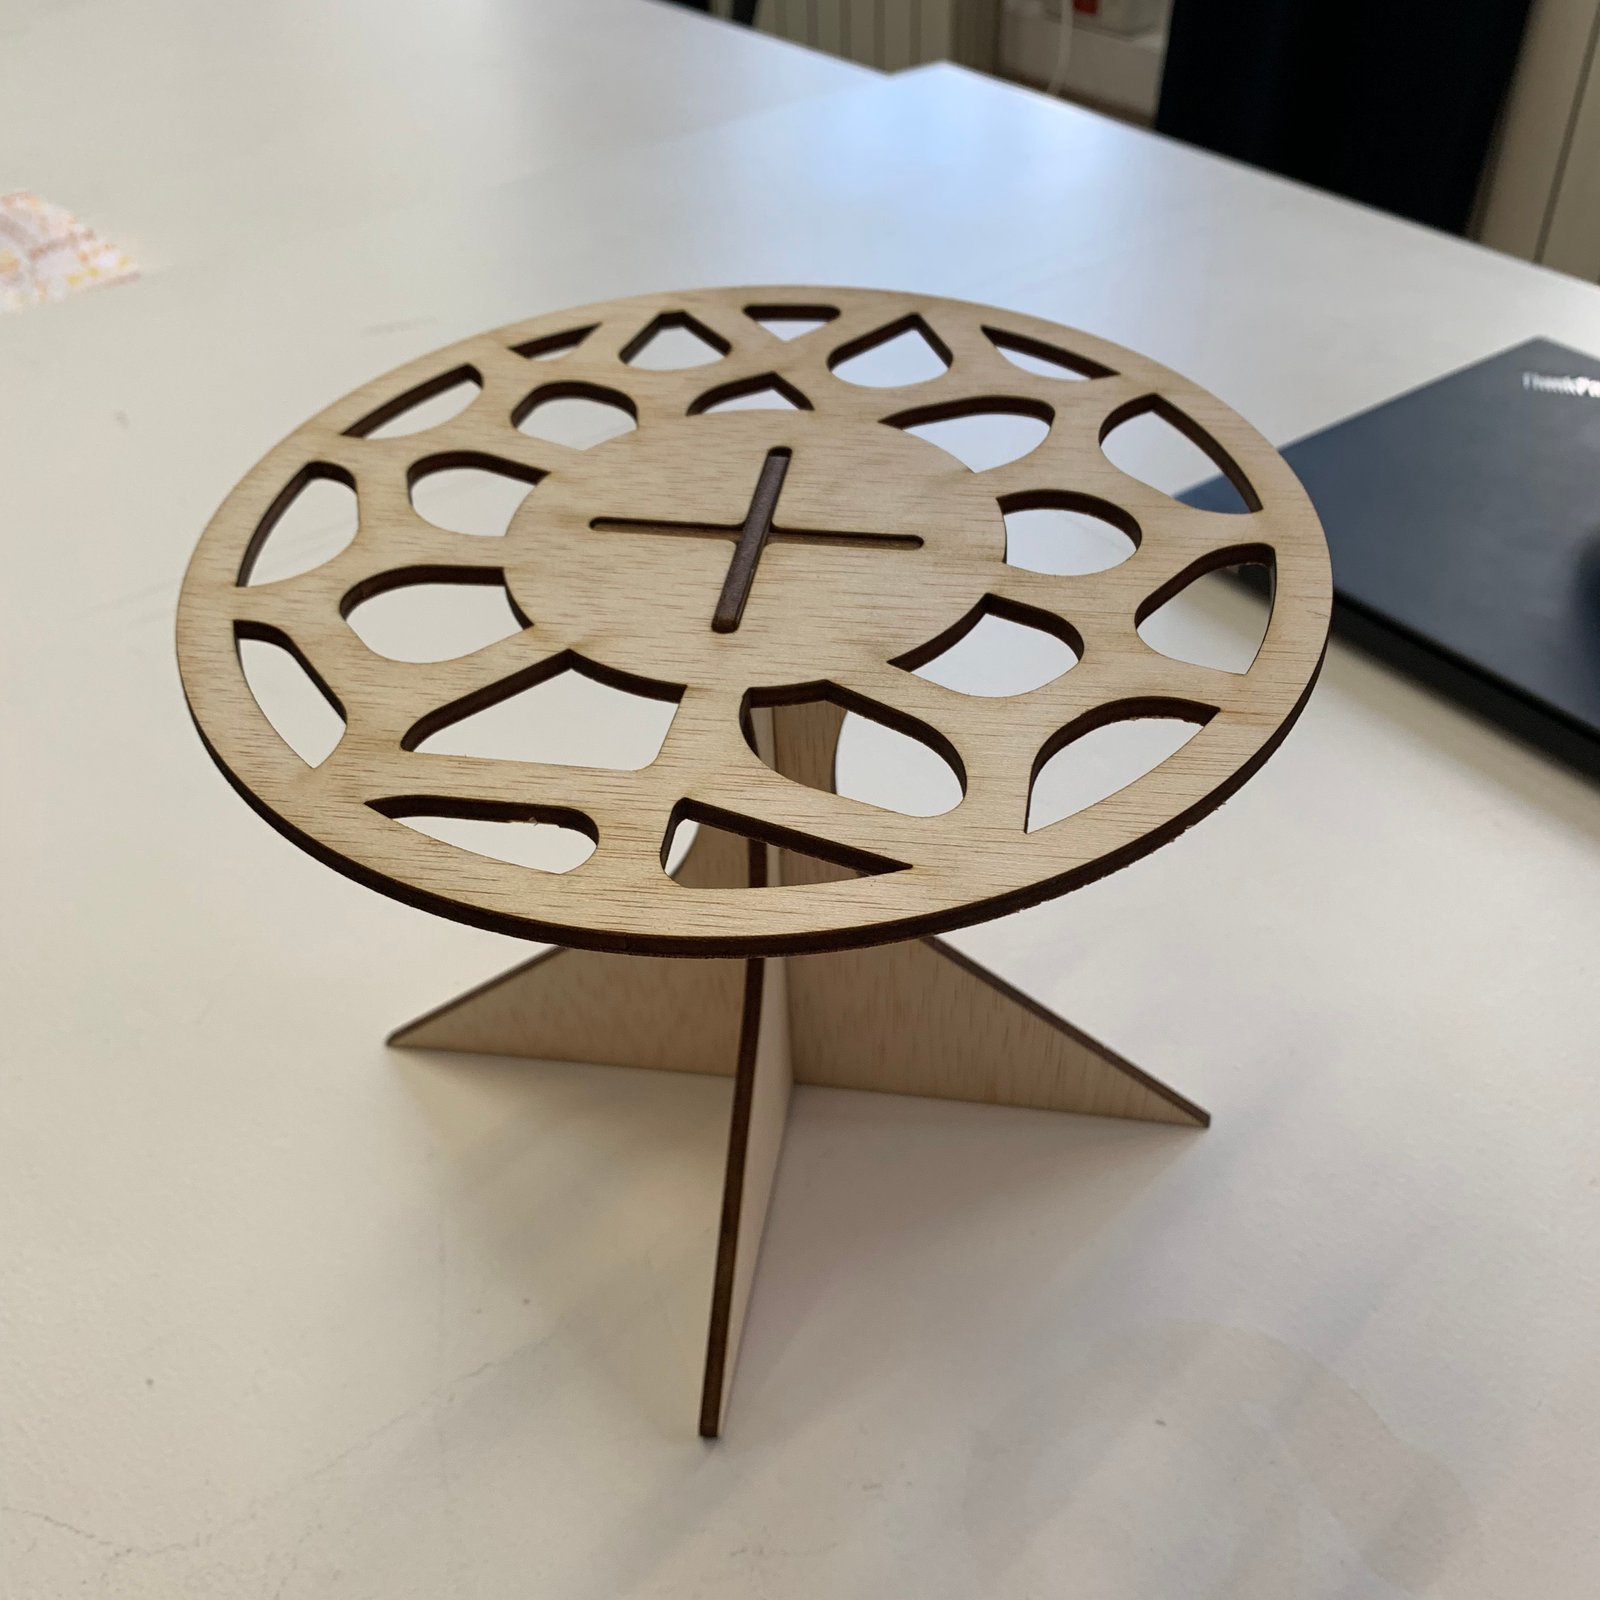
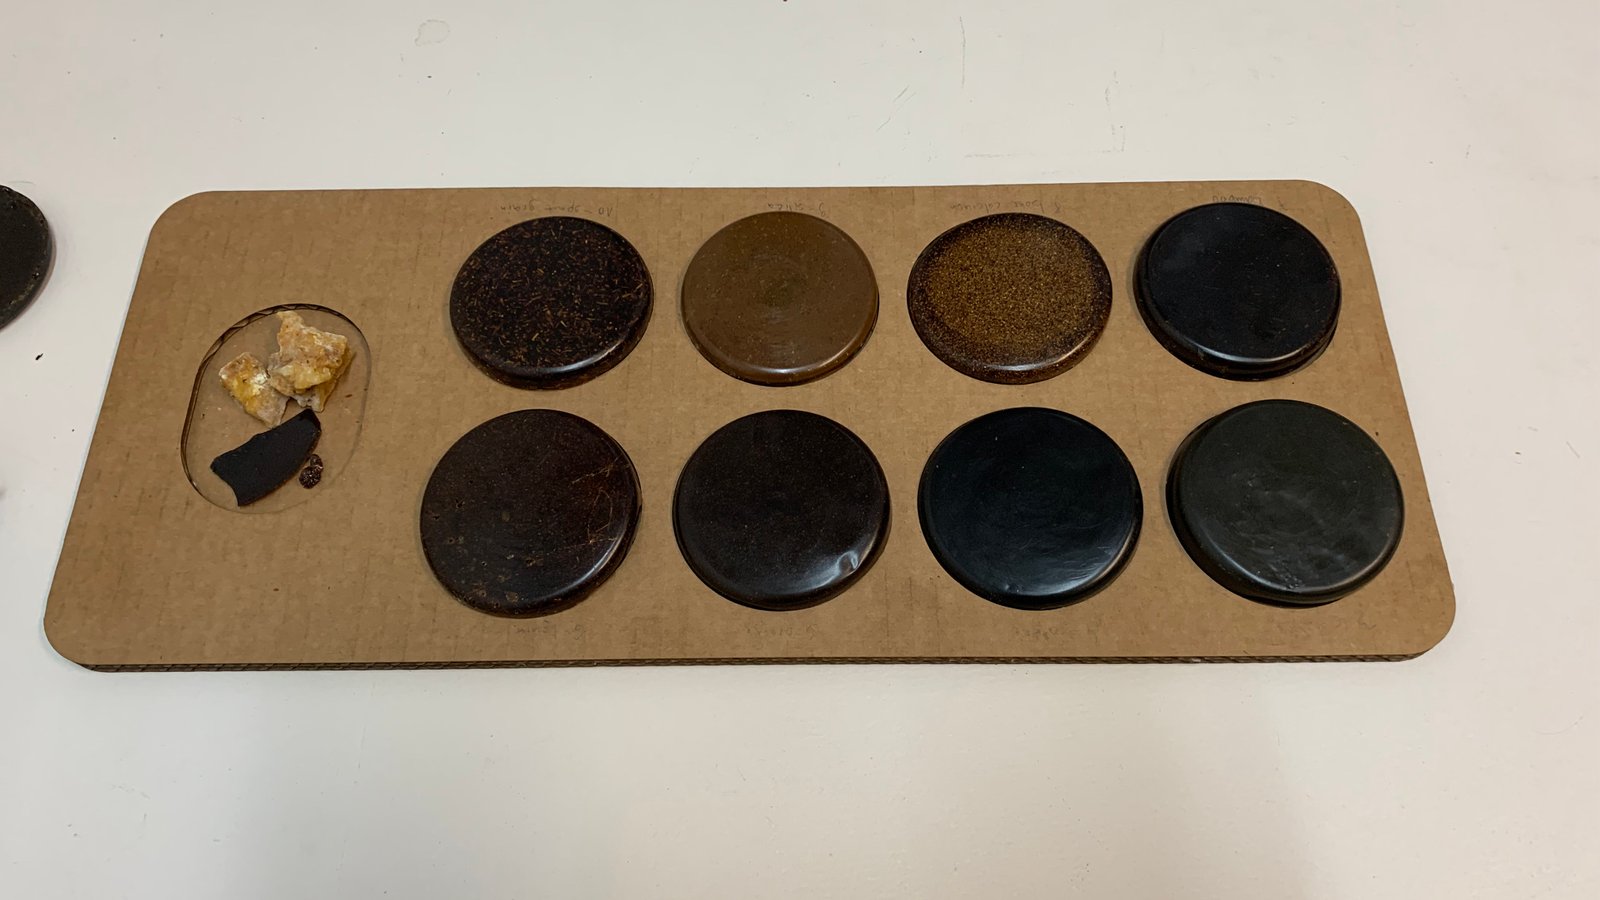
A minimalistic holder for resin samples as part of the Material Driven Design course:
A test cut to asses the quality of design for a stool to be CNC-ed:
