3D Scanning & Printing
Fixing a coffee grinder
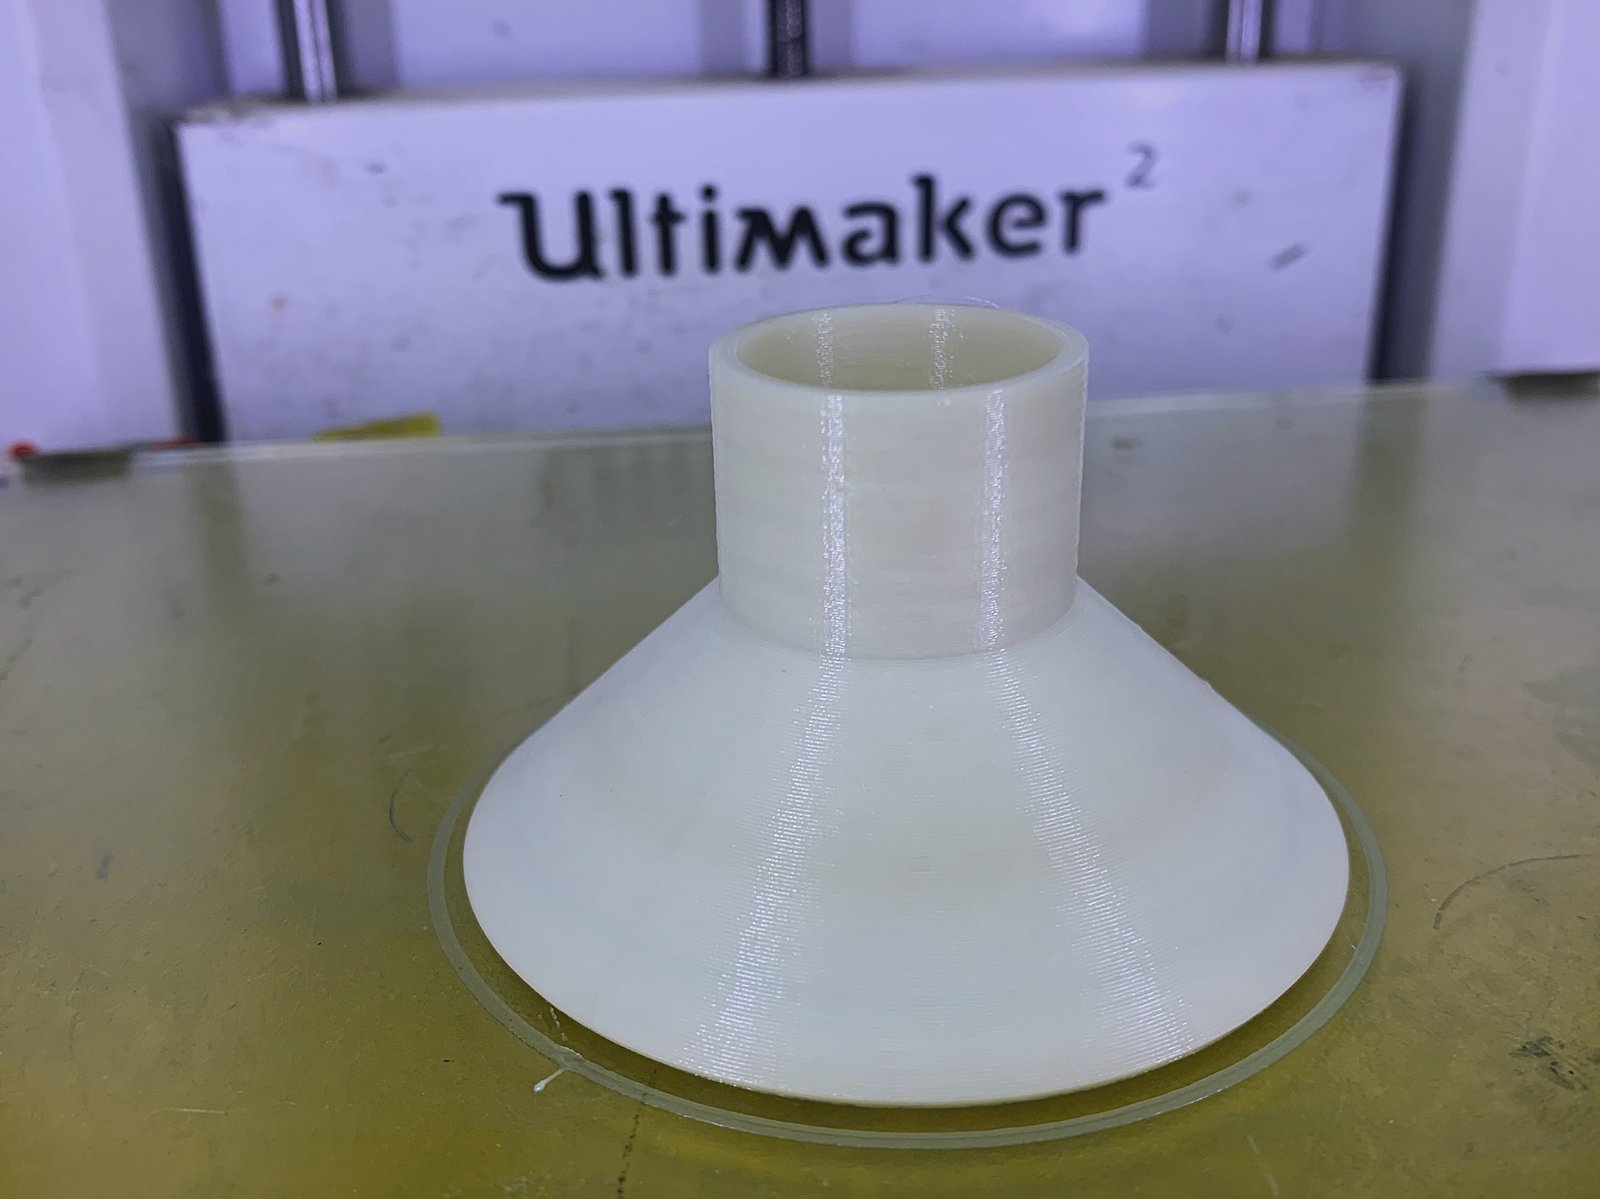
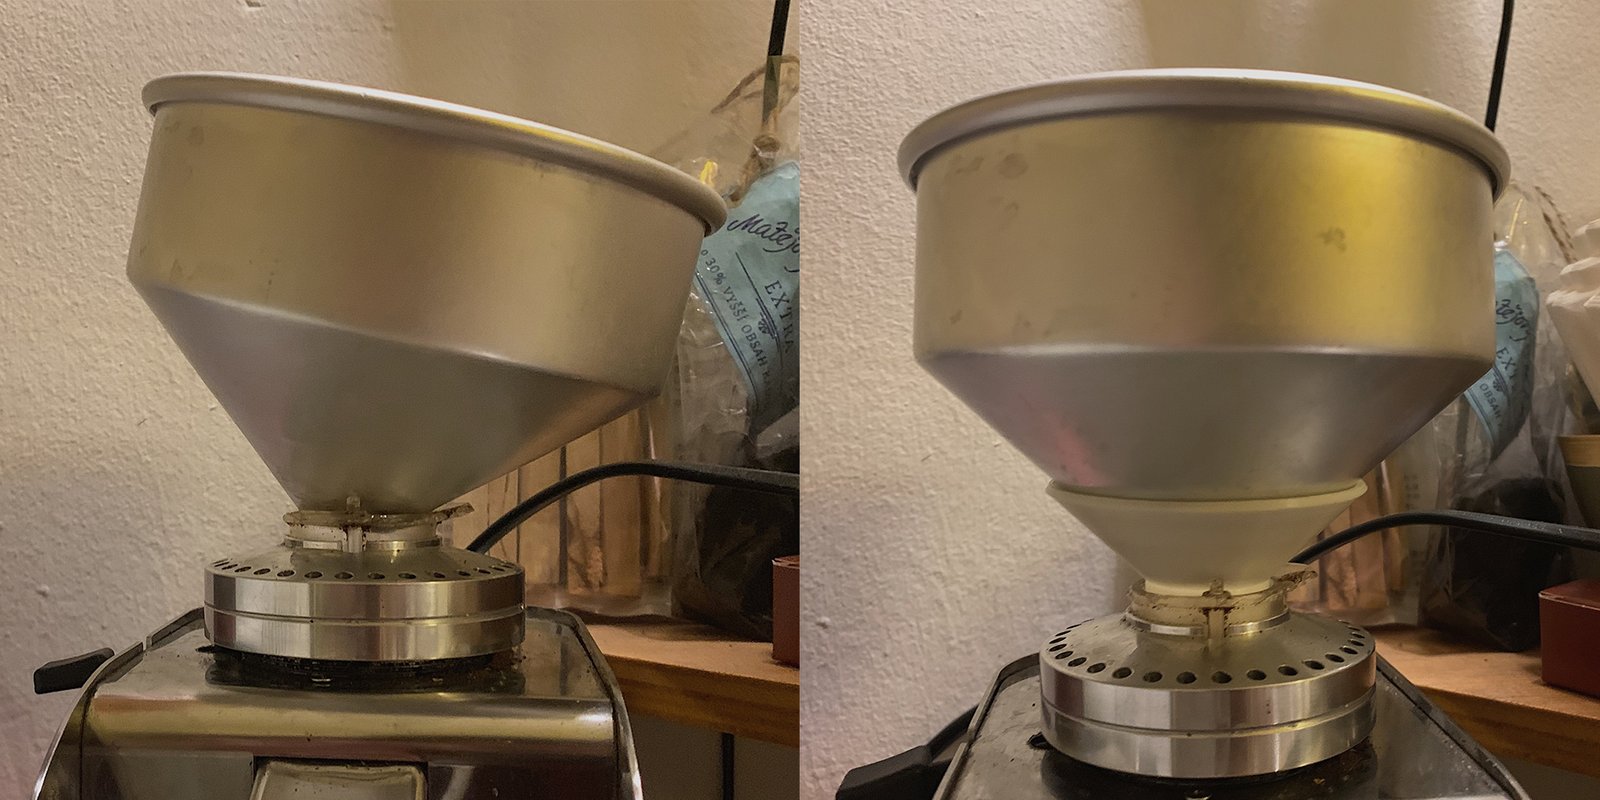
I have a great coffee grinder at home, but for months a piece on it has been broken — the nozzle for pouring coffee wasn’t attached properly so I had to hold it with my second hand every time I poured in coffee beans. So I decided to intervene with a 3D print.
I measured the size of the opening on the grinder and modelled a nozzle extension around that size in Rhino.
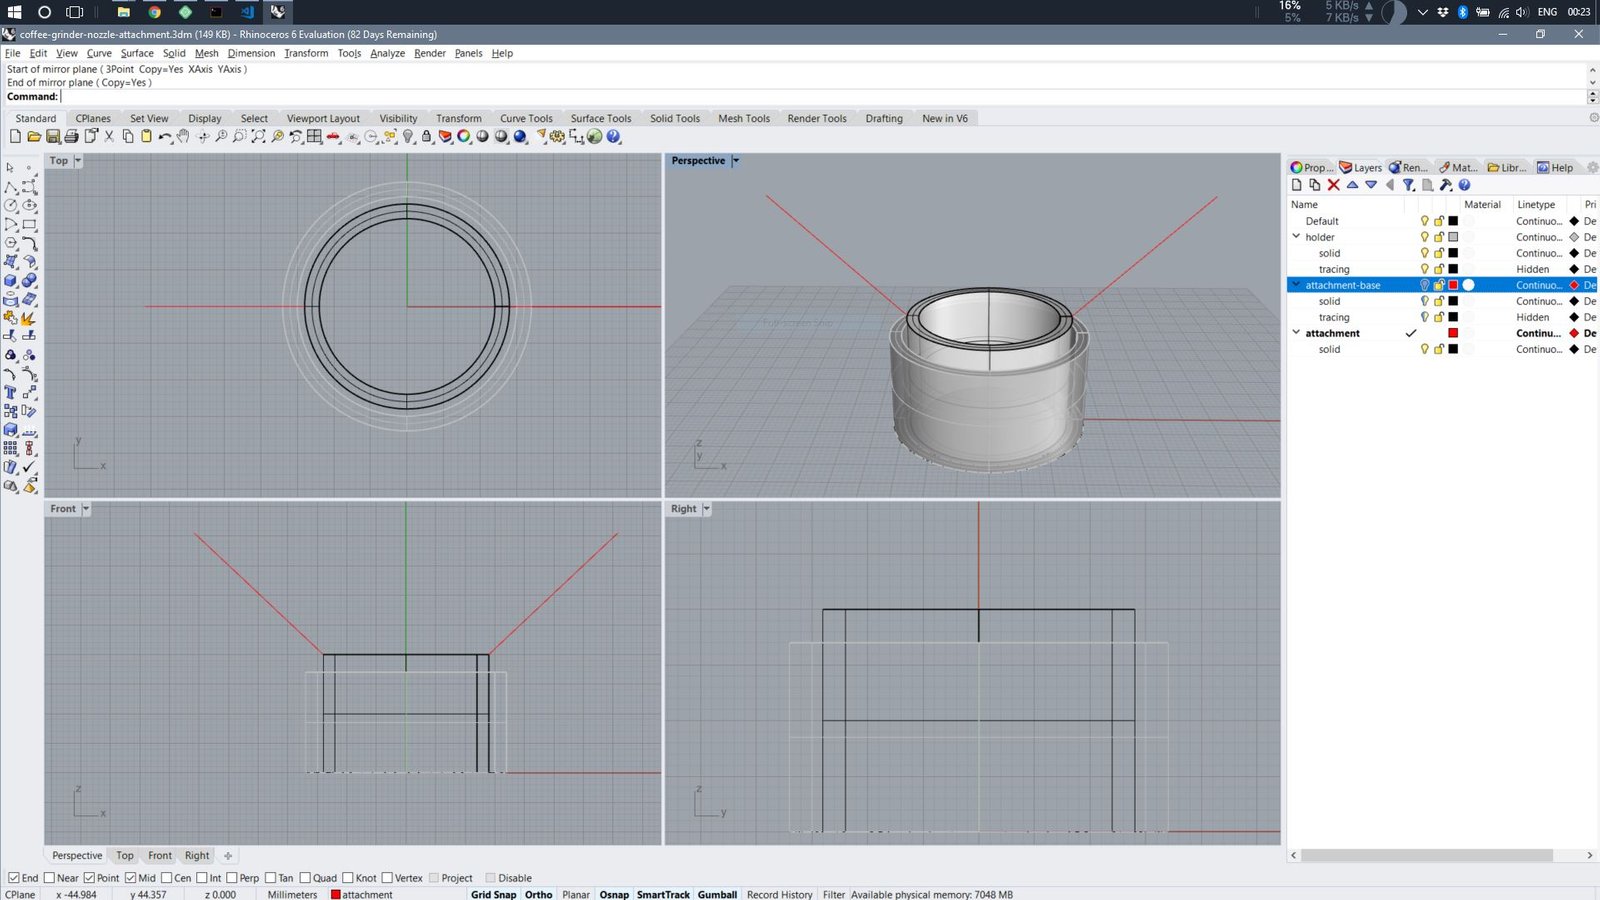
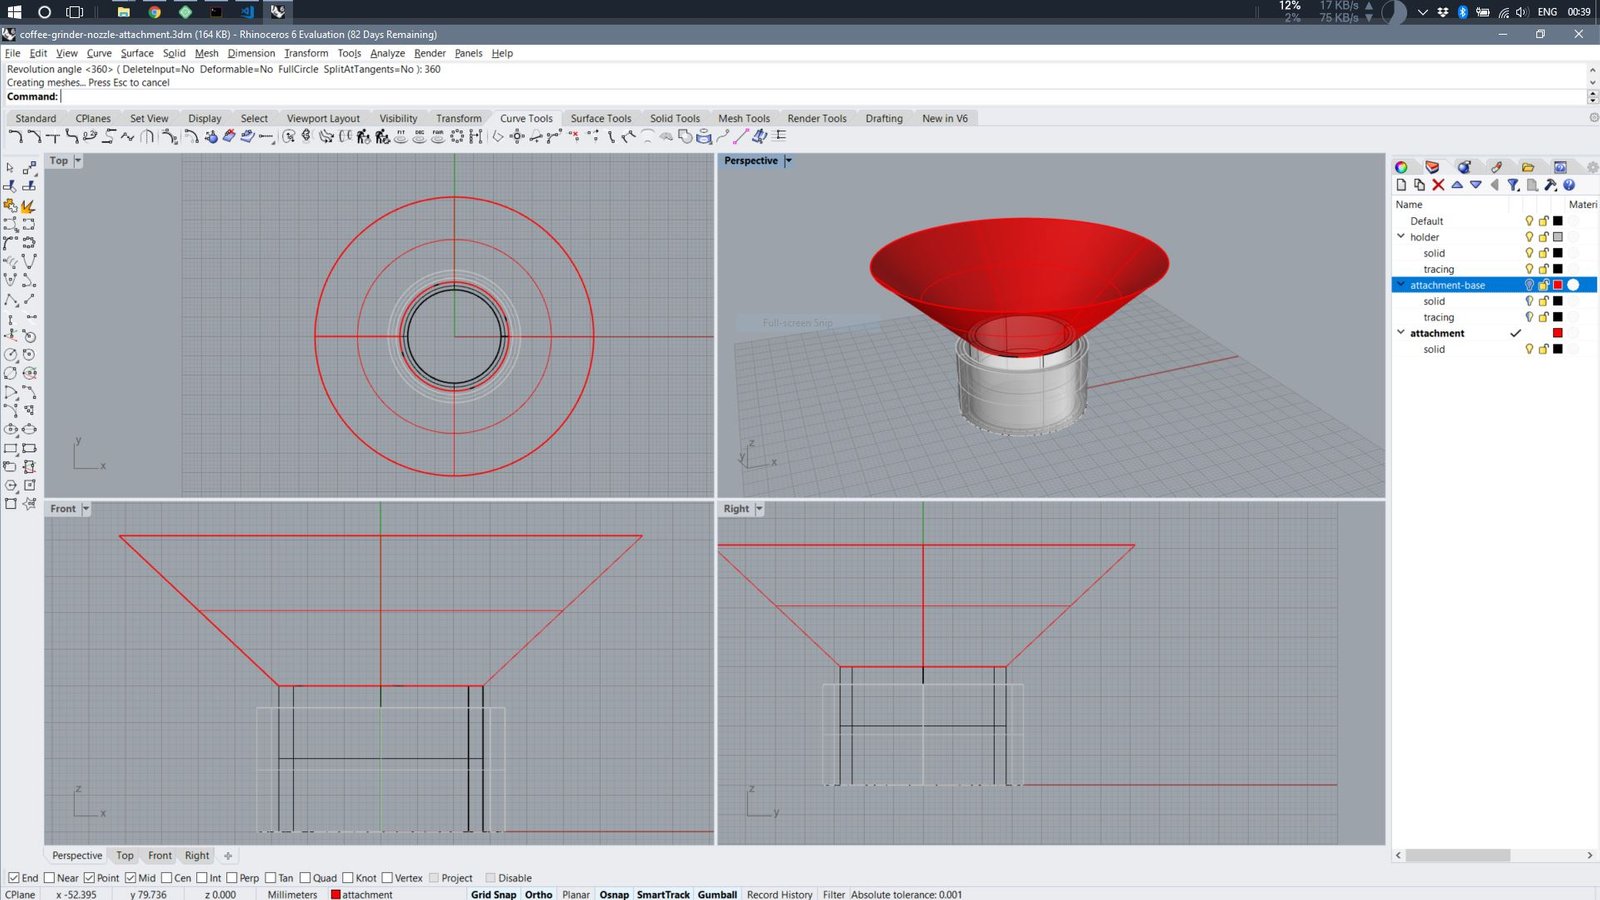
I exported the model in the STL format that I could open in Cura. I used the Ultimaker with default settings, since there was nothing particularly complicated about my model and I used a standard PLA filament.
And finally a finished piece in action:
I was really happy to use the potential of the 3D printing to fix a household item. This piece could not have been made using a subtractive method due to its shape a ‘gaps’.
BronzeFill shenanigans
I discovered an interesting filament in the lab that I wanted to explore more. BronzeFill from colorFabb is PLA mixed with actual fine bronze powder. This means once you finish your print, you can sand the piece with steel wool and use a polishing cream to actually get a feel and look of a metal.
Because of the metal particles, this filament is quite tricky to print with because it gets stuck in the extruder in longer prints. Also, because the filament was 3mm in diameter, I could only use one of the RepRaps or Ultimaker which had a large enough feeder. I used RepRap first.
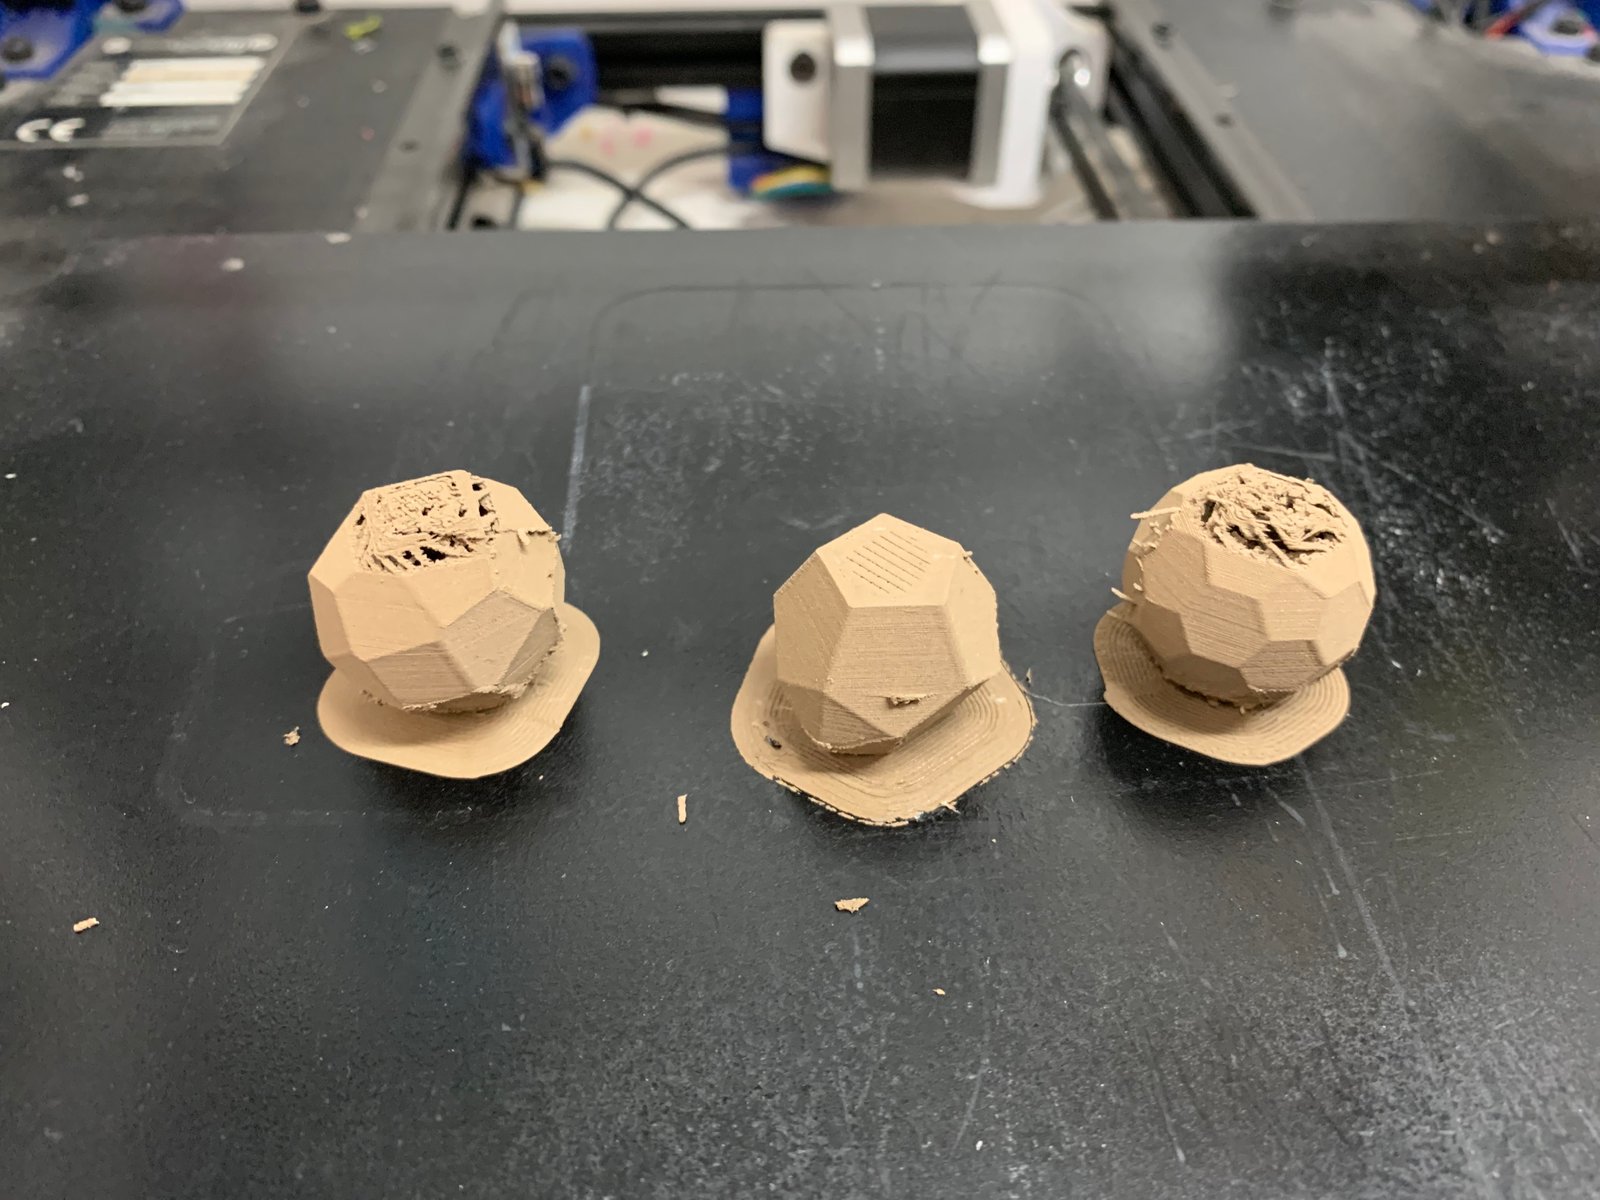
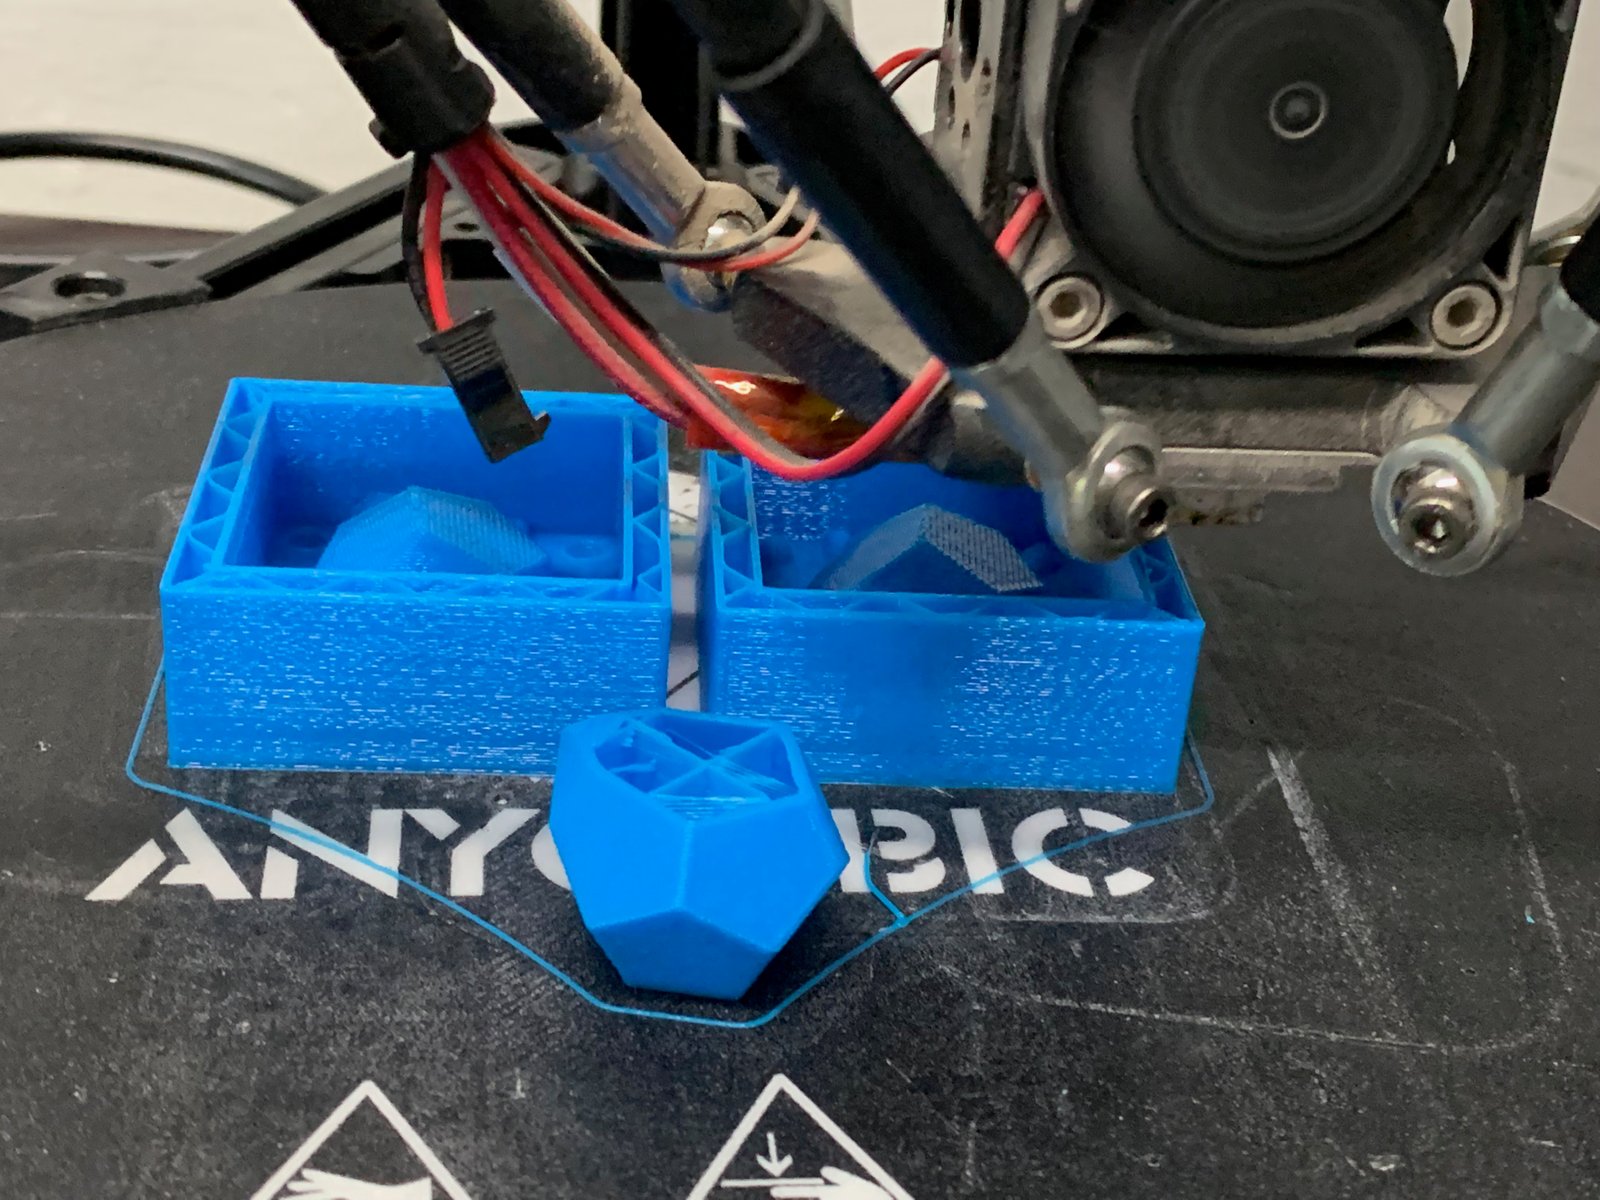
For the first print I did 3 small crystal-like shapes. Due to incorrect settings in Cura, two of the shapes didn’t have their tops properly closed:
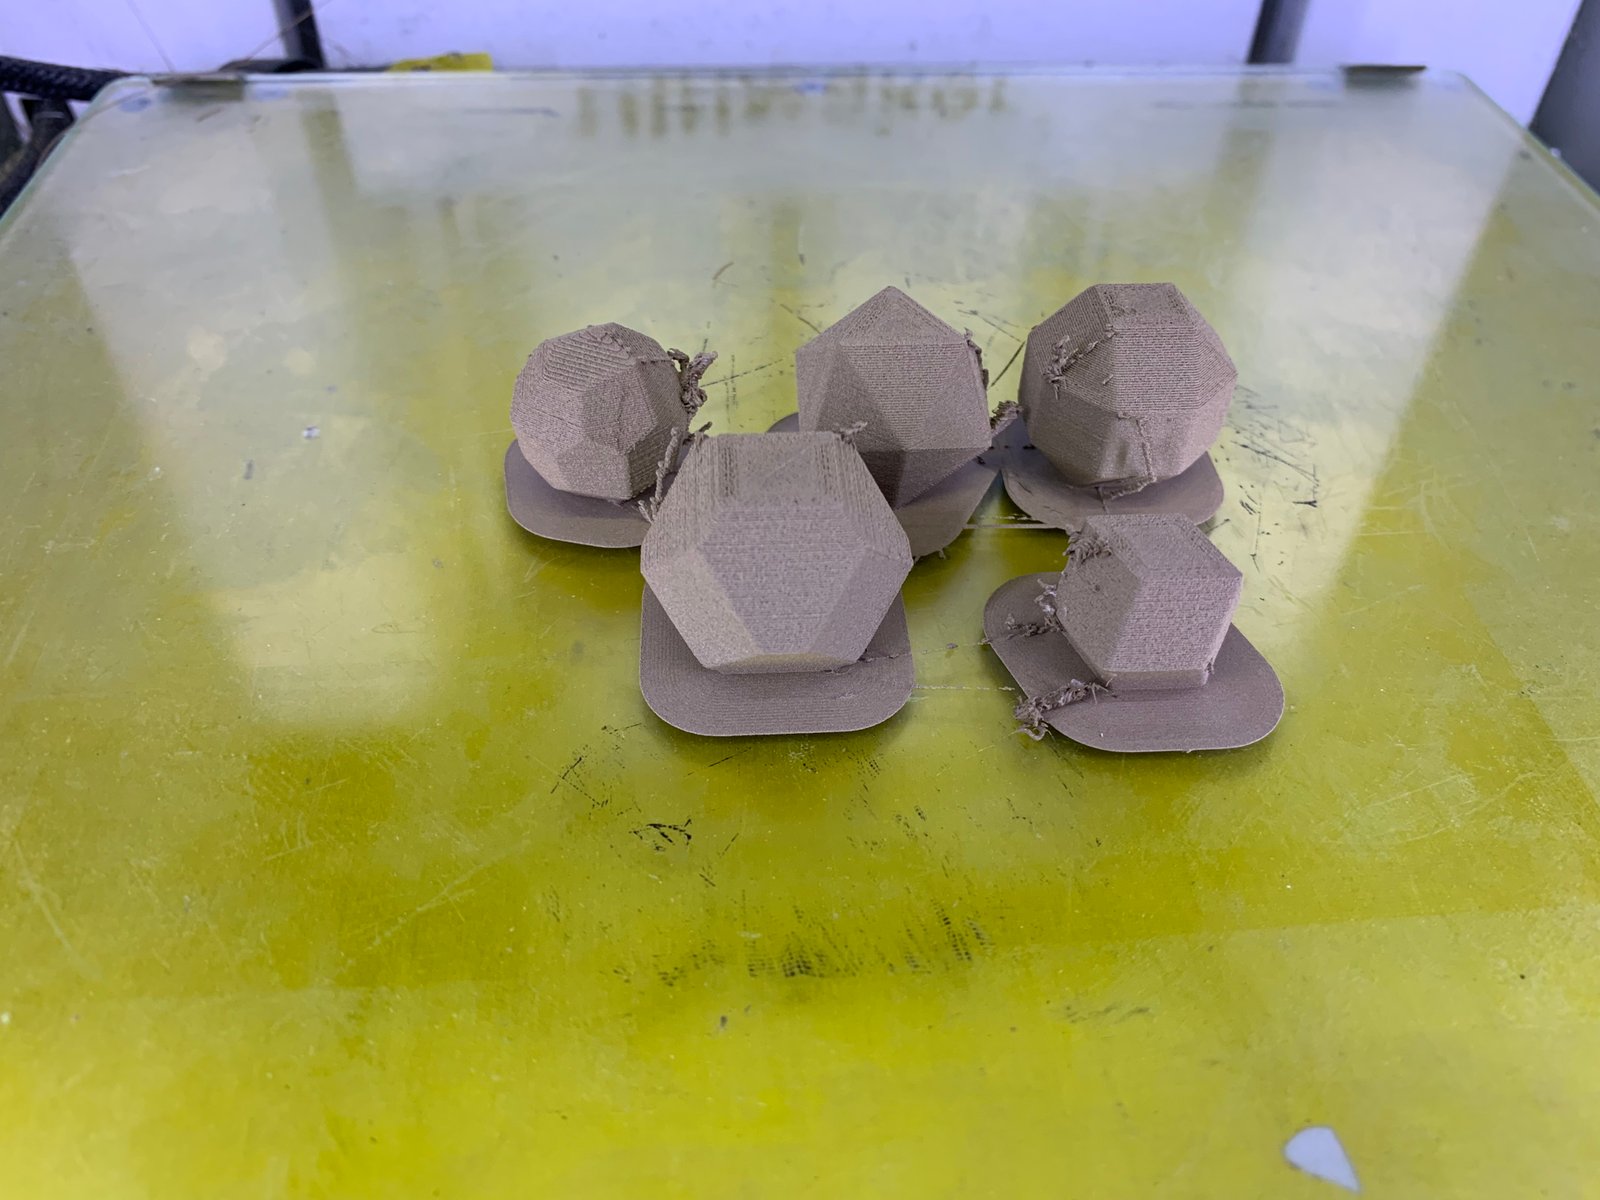
With the second batch I already has a better grasp of the correct settings:
After polishing the shapes with sand paper, then with steel wool and finally add some polishing cream, the crystals actually looked like metal and felt quite convincing in hand as well. With 60% infill the crystals felt quite hefty adding to the faux-metallic aesthetic. Unfortunately, I forgot to take a picture before I gifted them to a friend.
After the successful print I decided to try and print a larger object. I designed a lamp and started the print at least a dozen times. It either failed early on with filament not sticking properly to the bed or getting stuck in the extruder. The furthest I got with the object was thus far:
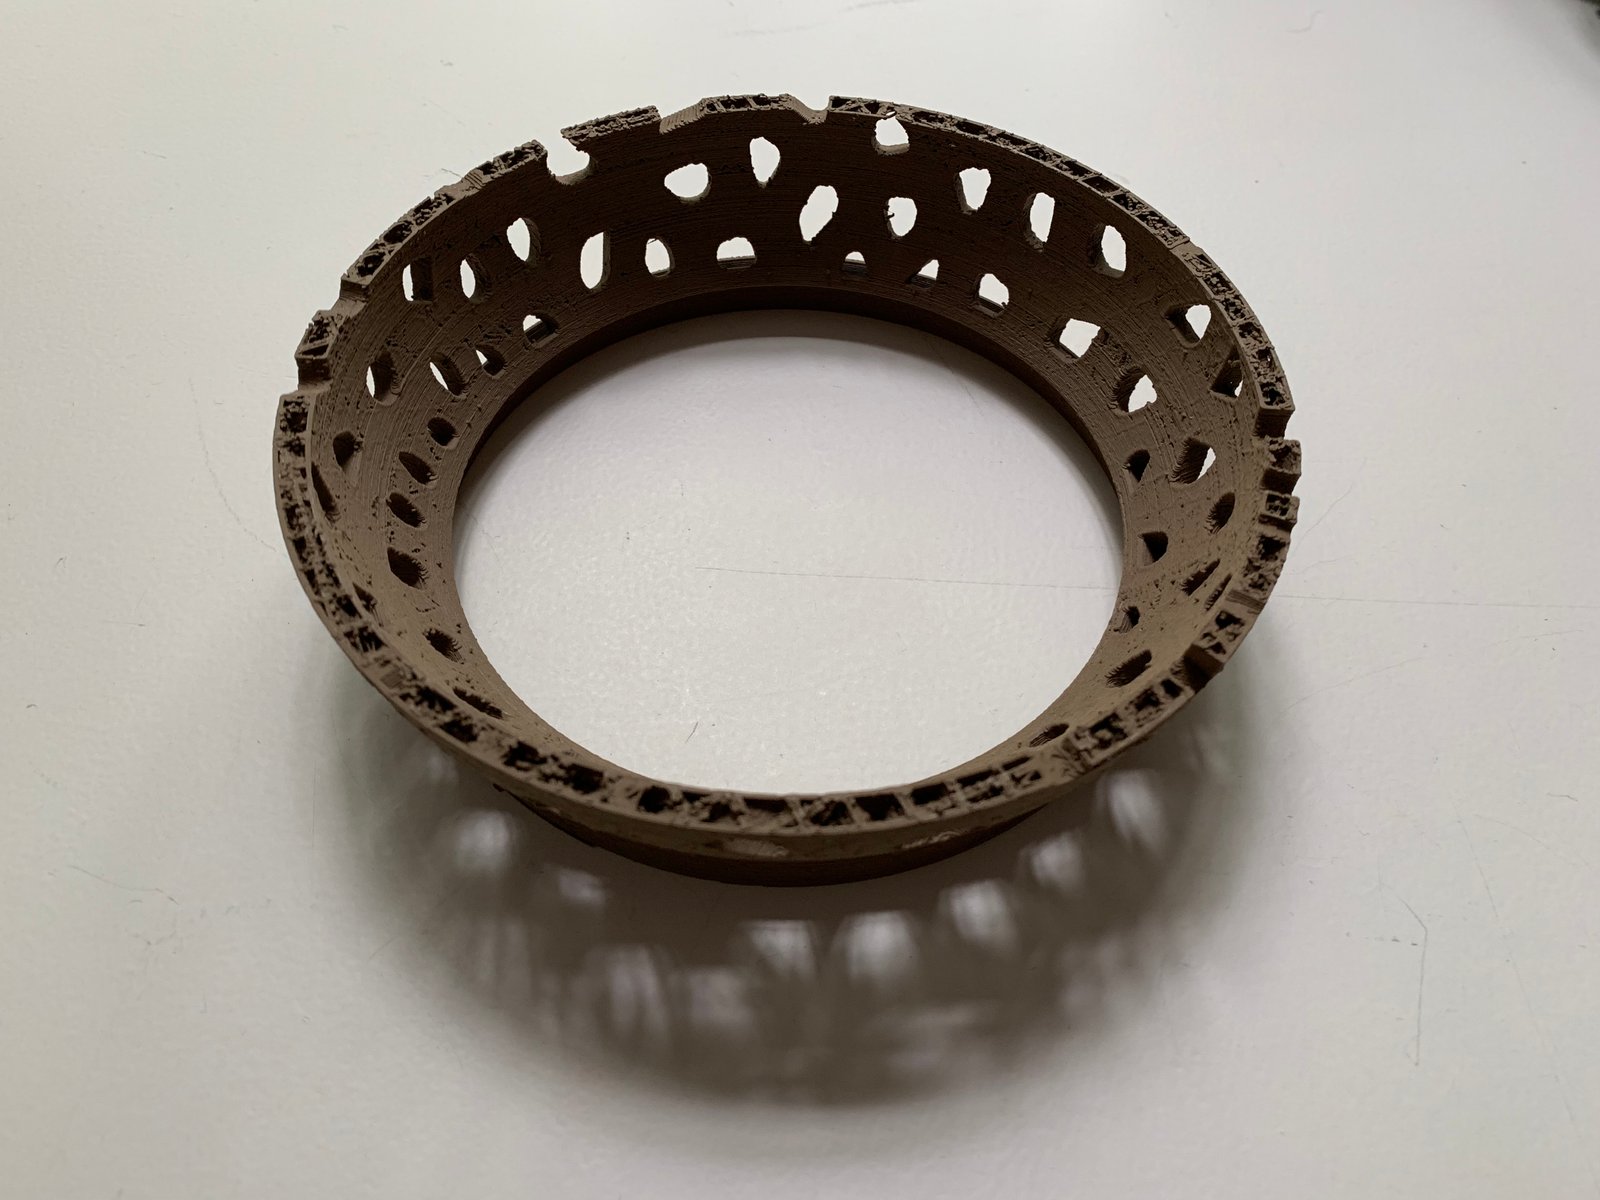
As I was slowly running out of filament to experiment with, I decided to scale down the object and switch to Ultimaker which can provide a more stable temperature due to its closed design. After a few failed starts, I was finally getting close to an ideal configuration in Cruda. The settings differ quite a bit between printers, so debugging needs to be done on case-to-case basis. However, temperature and speed seemed to play the major role, with temperature settings being a bit higher than recommended (230) and slower speeds.
As you can see, the print finished whole, which in itself was a success. However, it also failed miserably in terms of quality with a quite dramatic shifting and skipping. As I was out of filament at this point, I couldn’t try adjusting the settings. After consulting with the Fab Academy staff, the advice seems to be to heat up the bed to keep the temperature higher in the whole printer.
Going beyond PLA
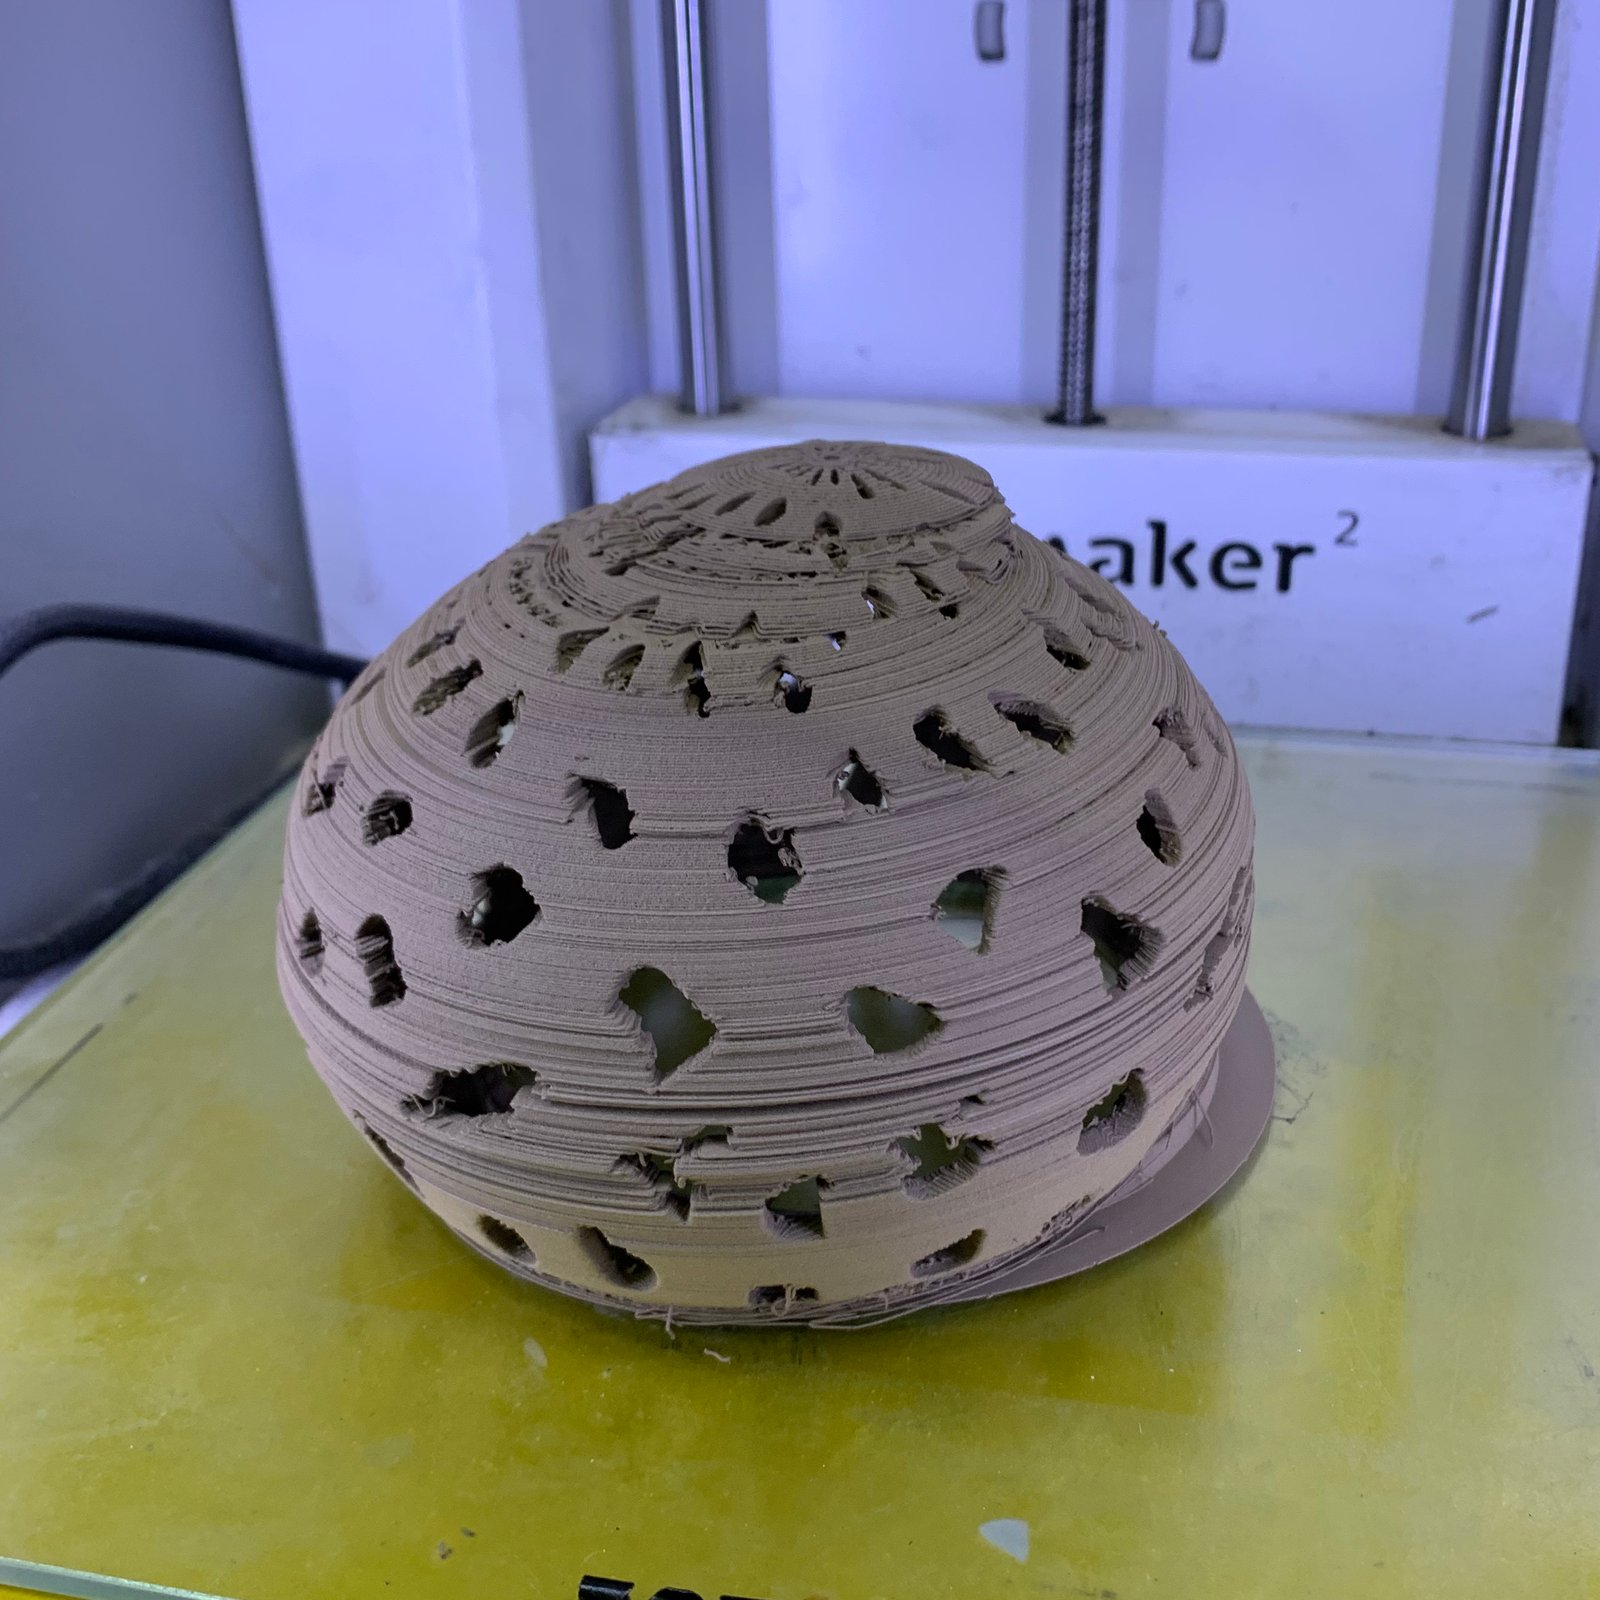
Even thought everyone keeps telling me PLA is made out of corn and is not that bad, I somehow detest the idea of using plastic in the long-term. I have persuaded Yiannis Vogdanis to allow me to use his custom-made clay extruder built on top of the super accessible Anycubic Kossel printer.
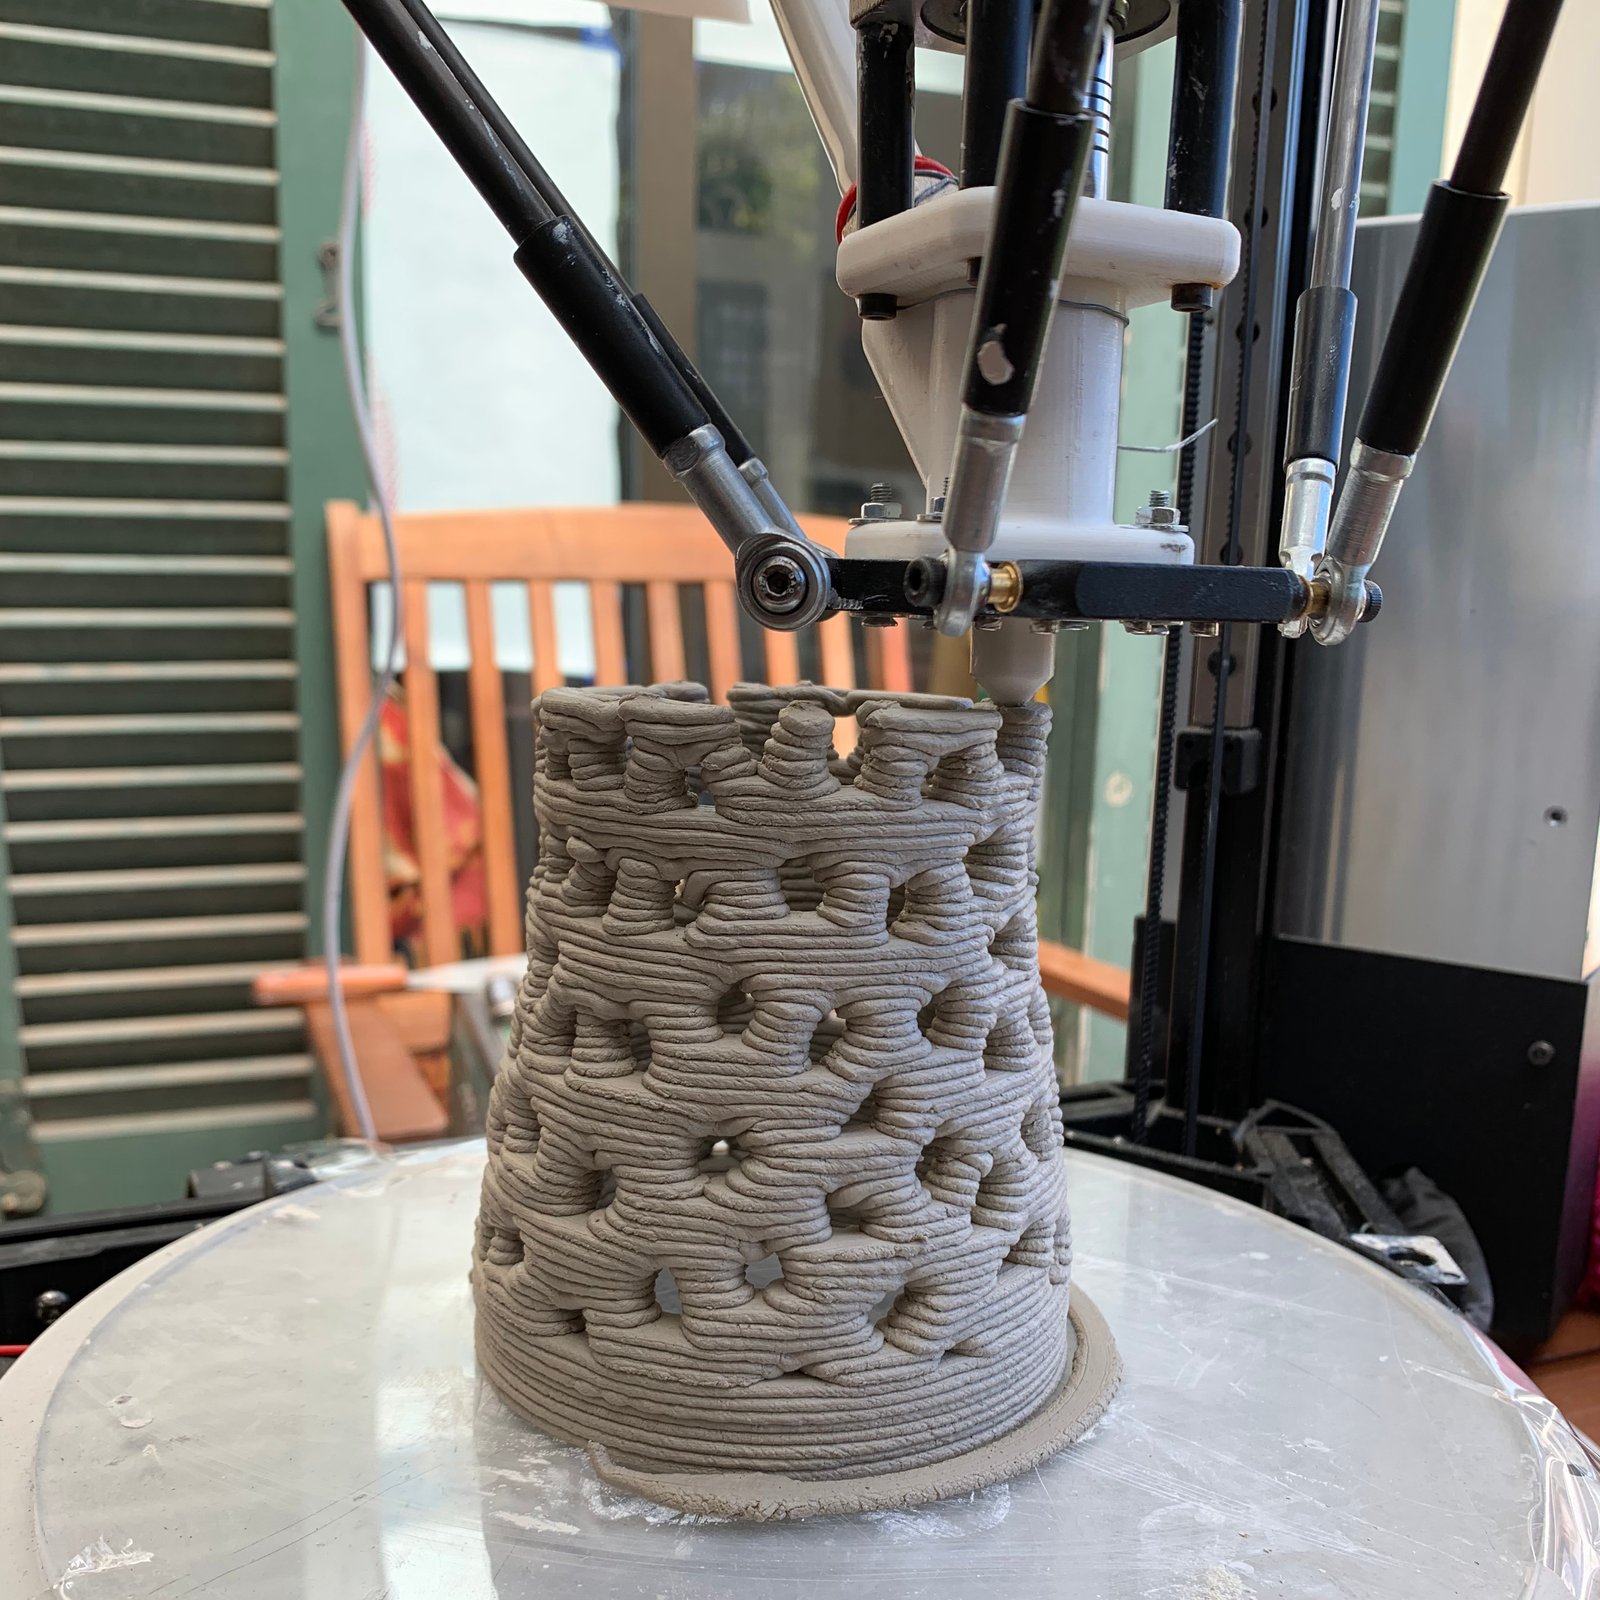
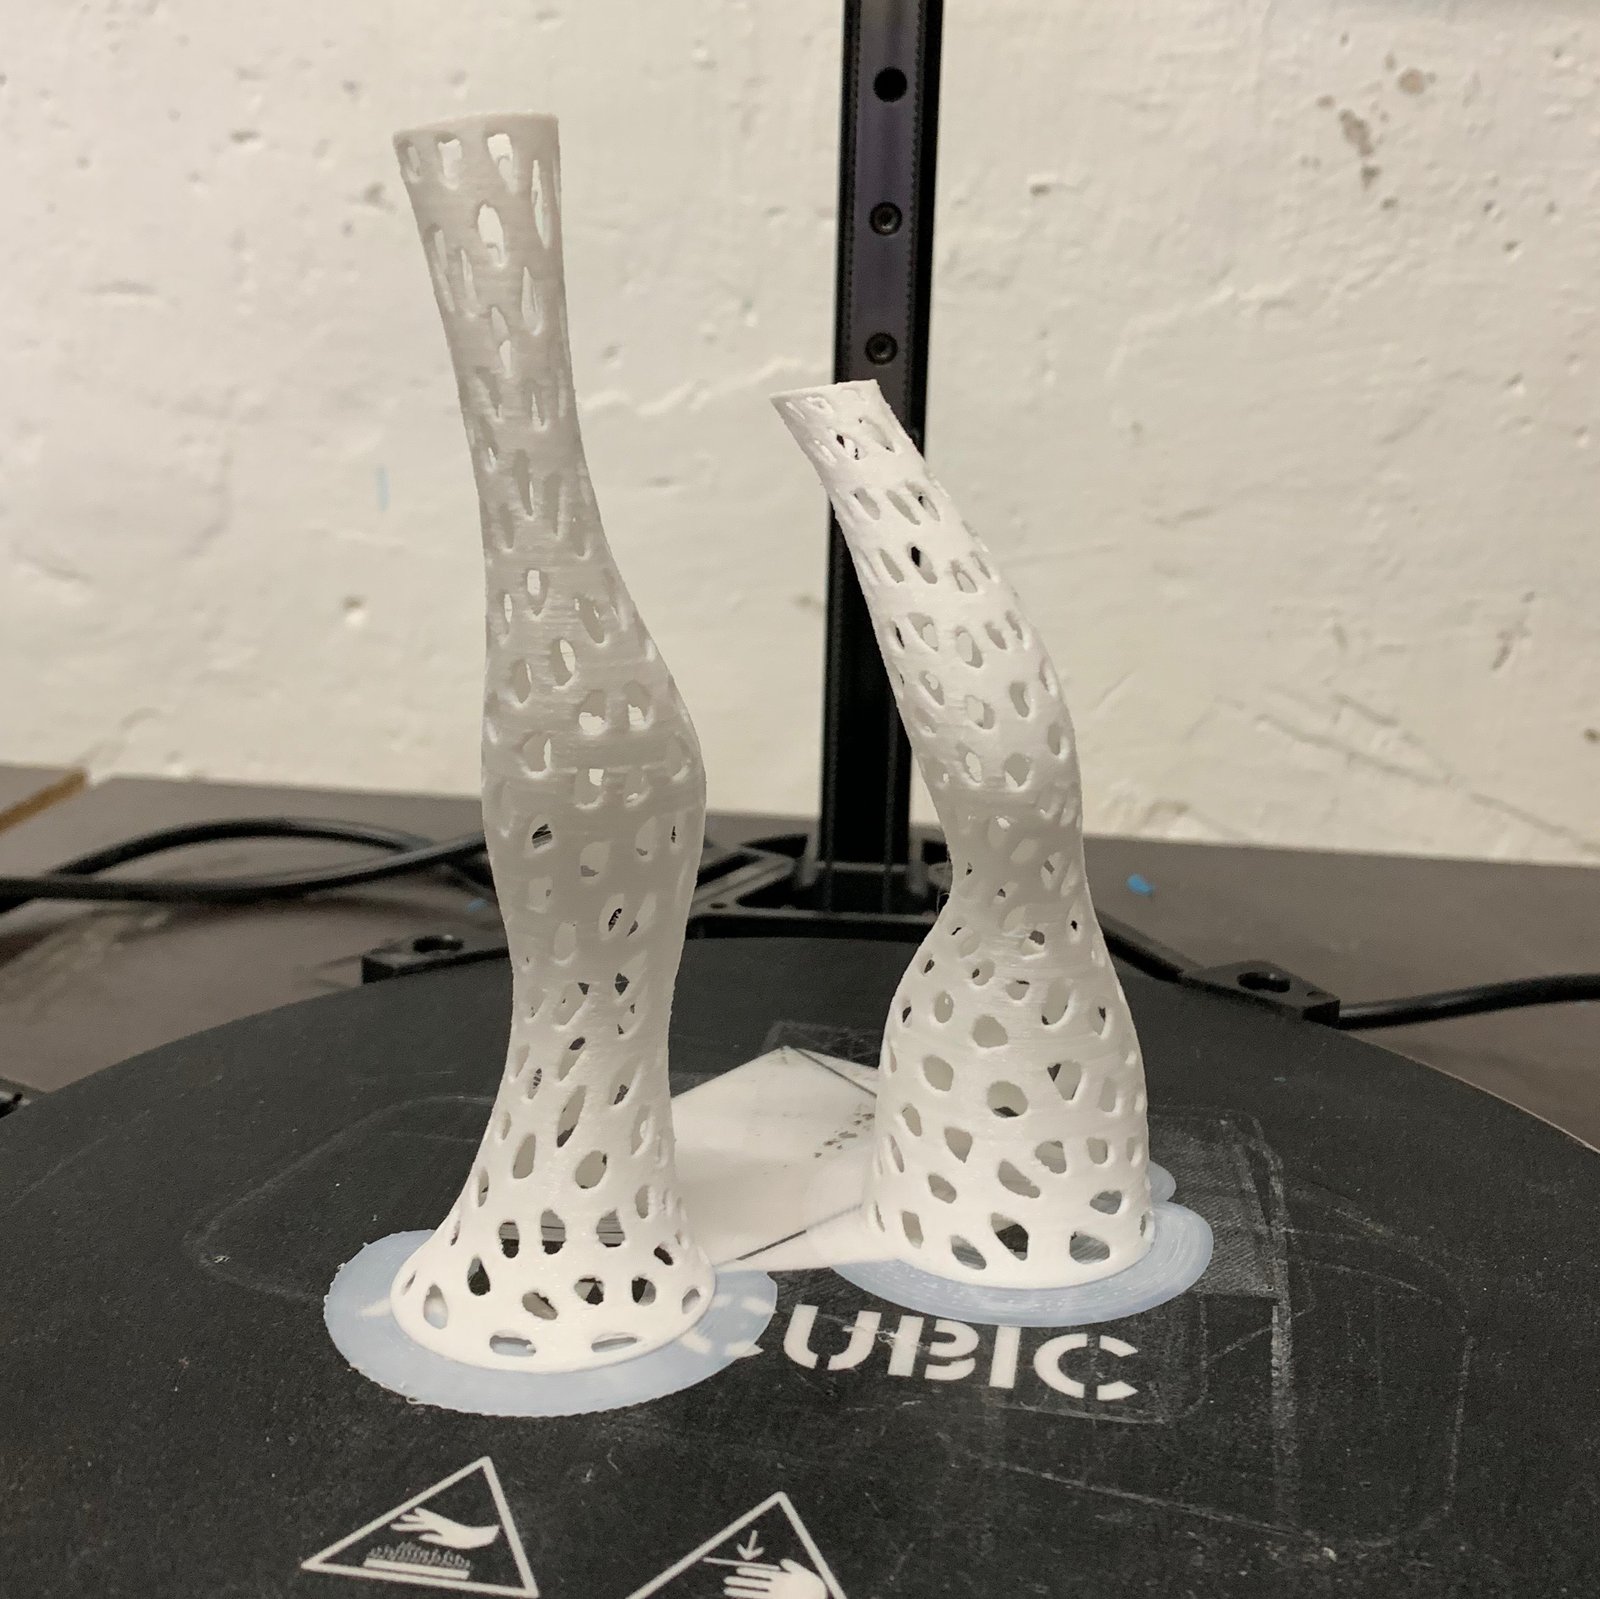
At this point Yiannis has already made many successful prints so I wanted to stress test the printer with a design which has numerous Voronoi openings.
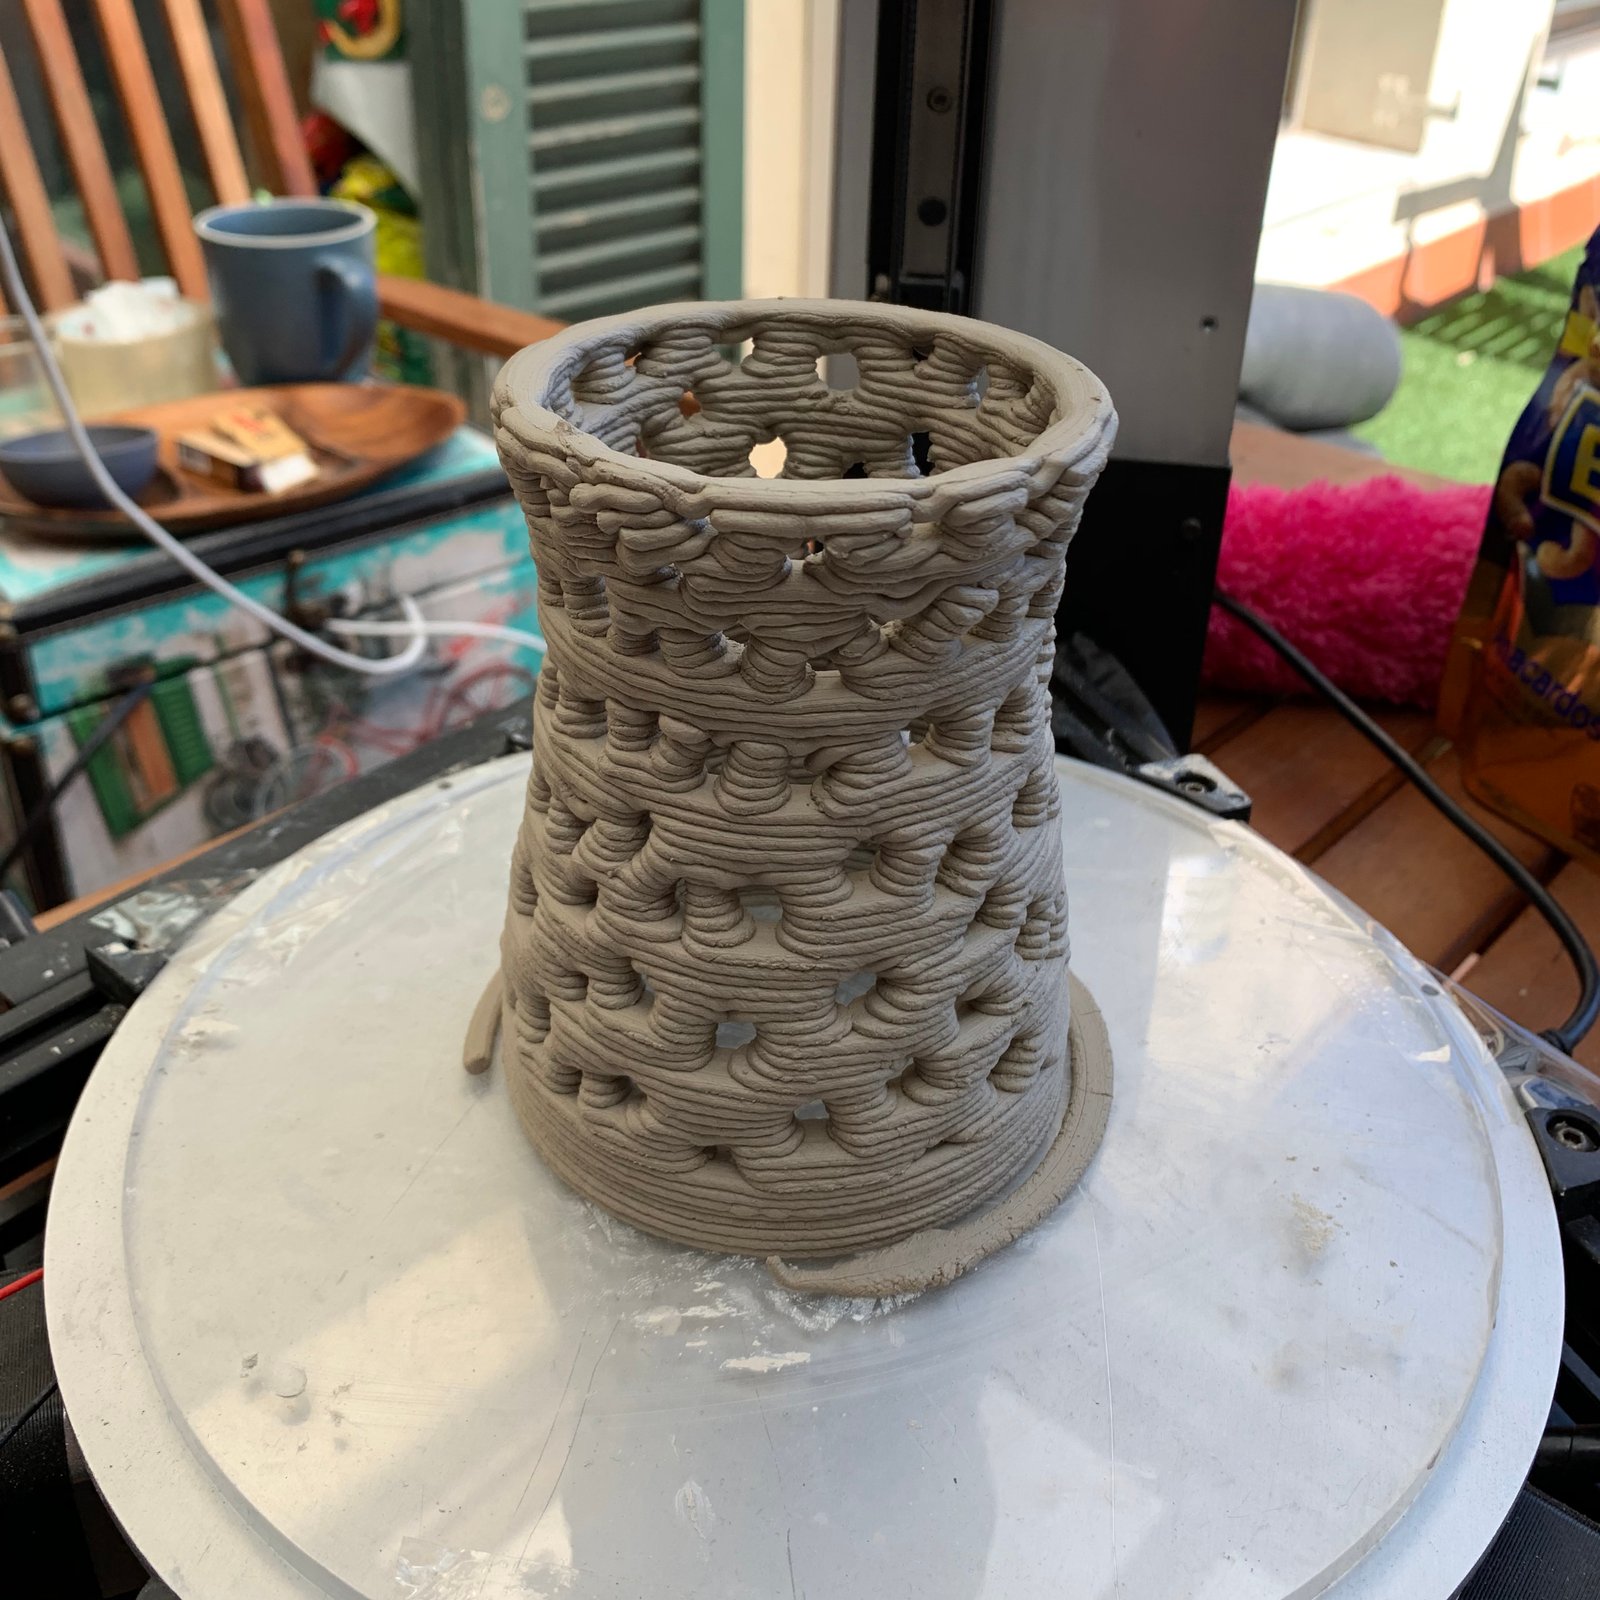
In the second print I used larger openings. As is clear from the finished print, there were quite a few critical moments where the clay almost collapsed, but to our surprised it actually finished in one piece.
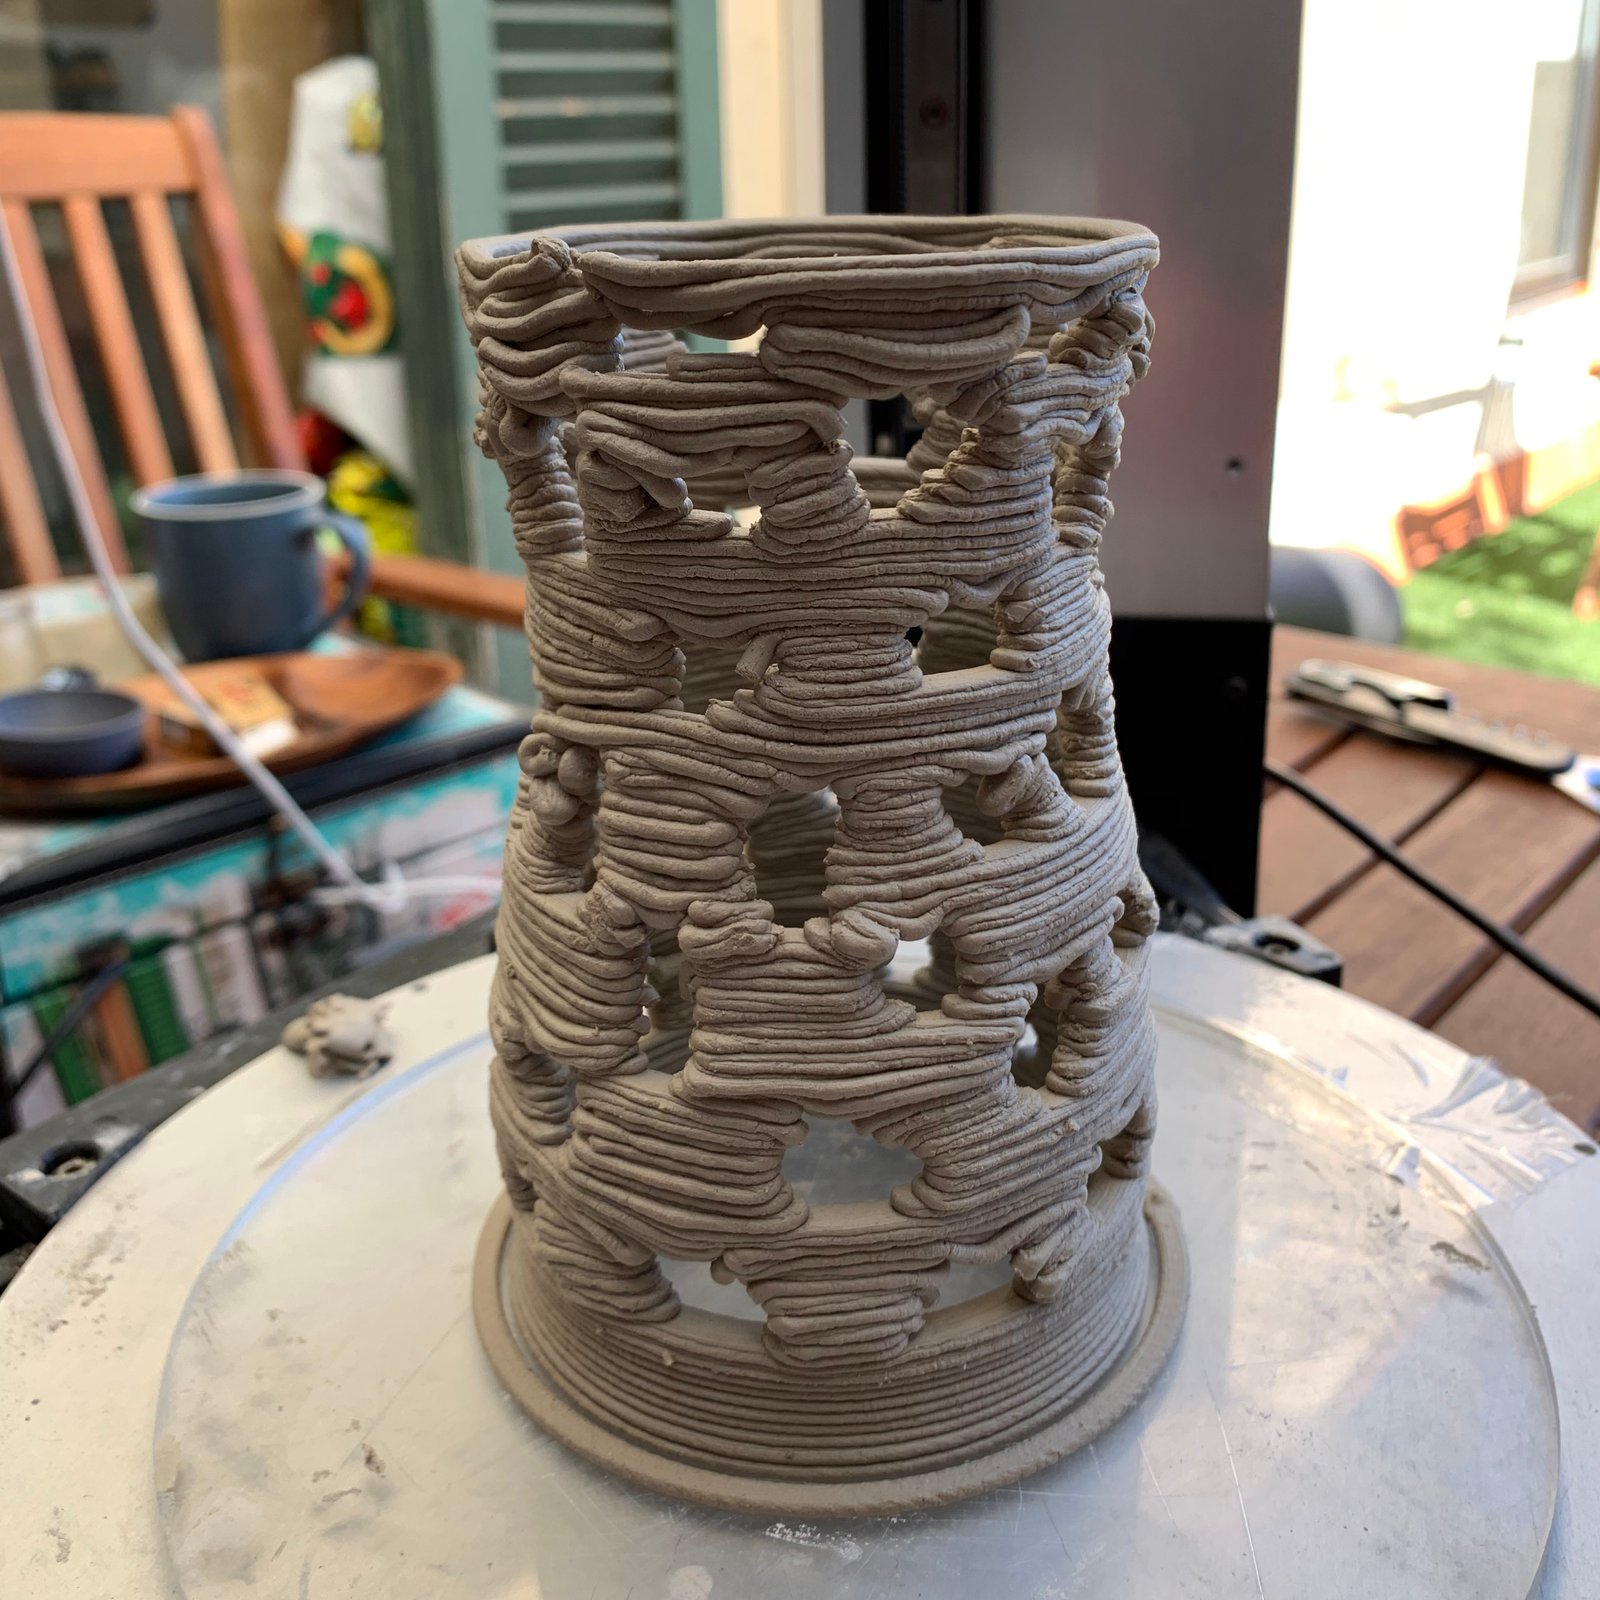
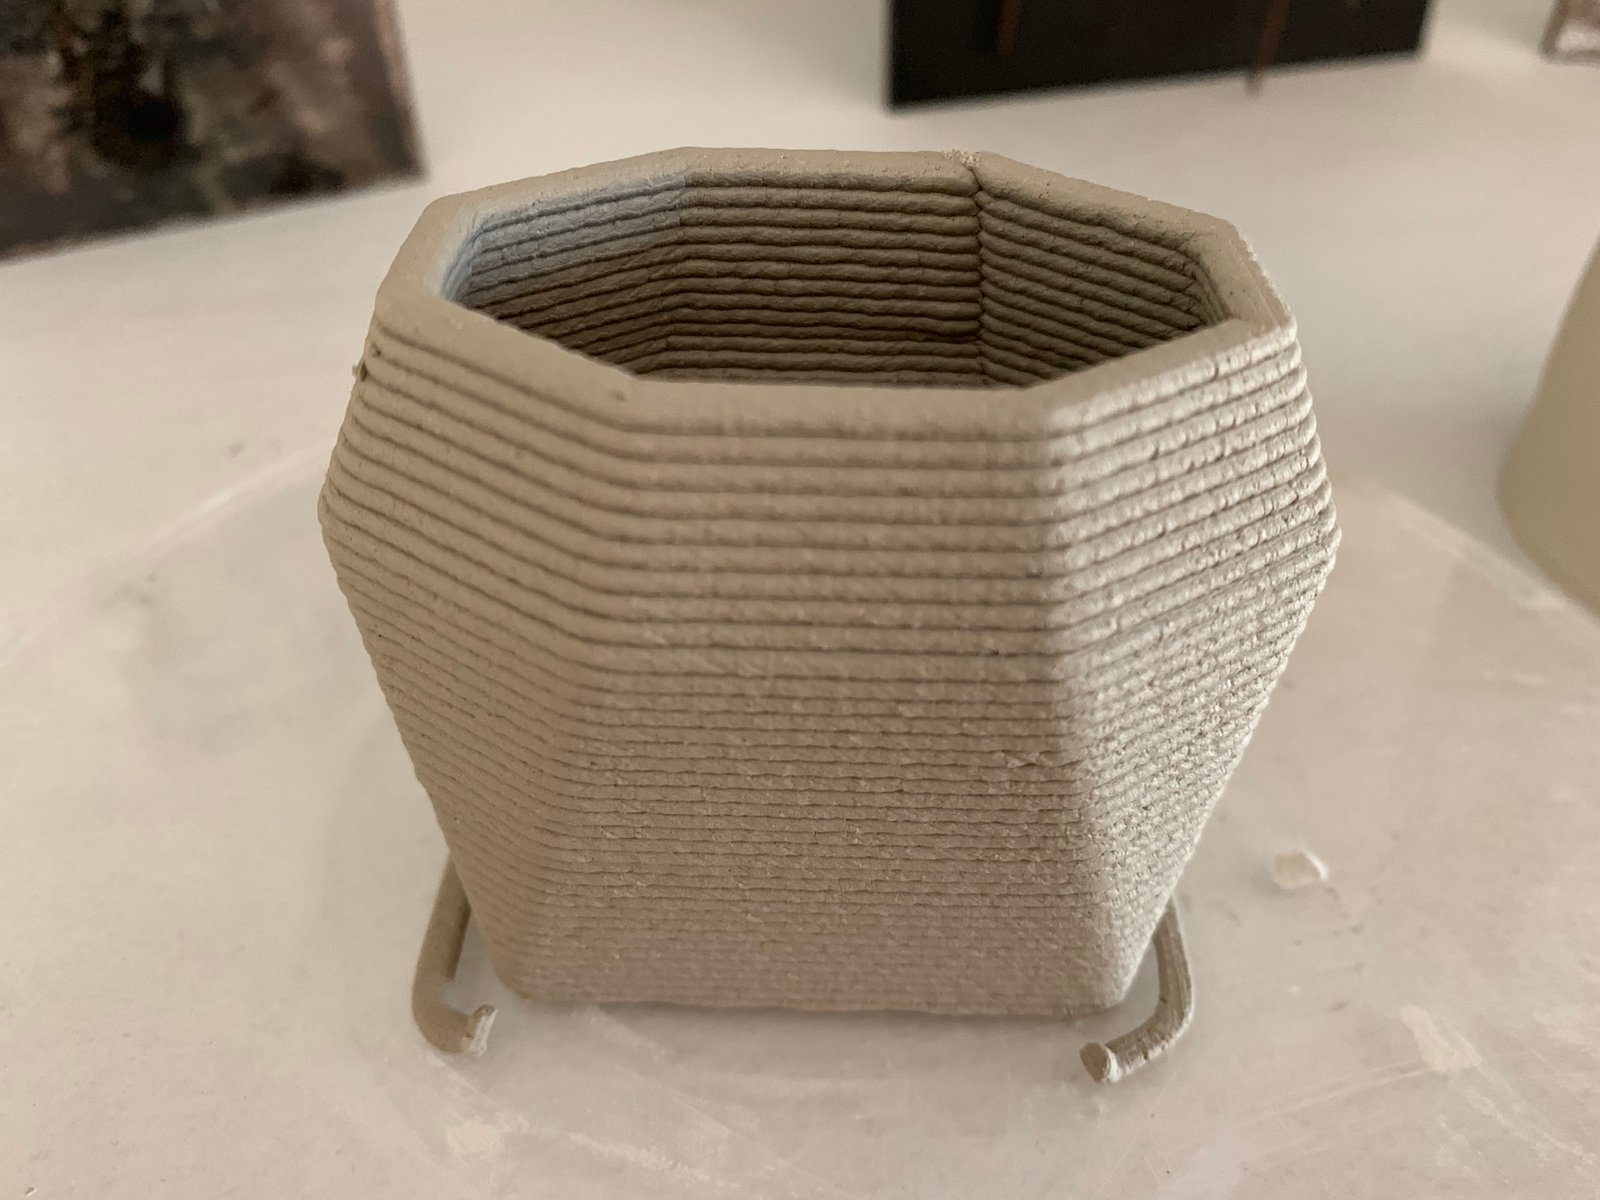
And with the leftover clay I printed a tiny crystal-shaped clay pot, which turned out beautifully:
Other 3D prints
3D scanning
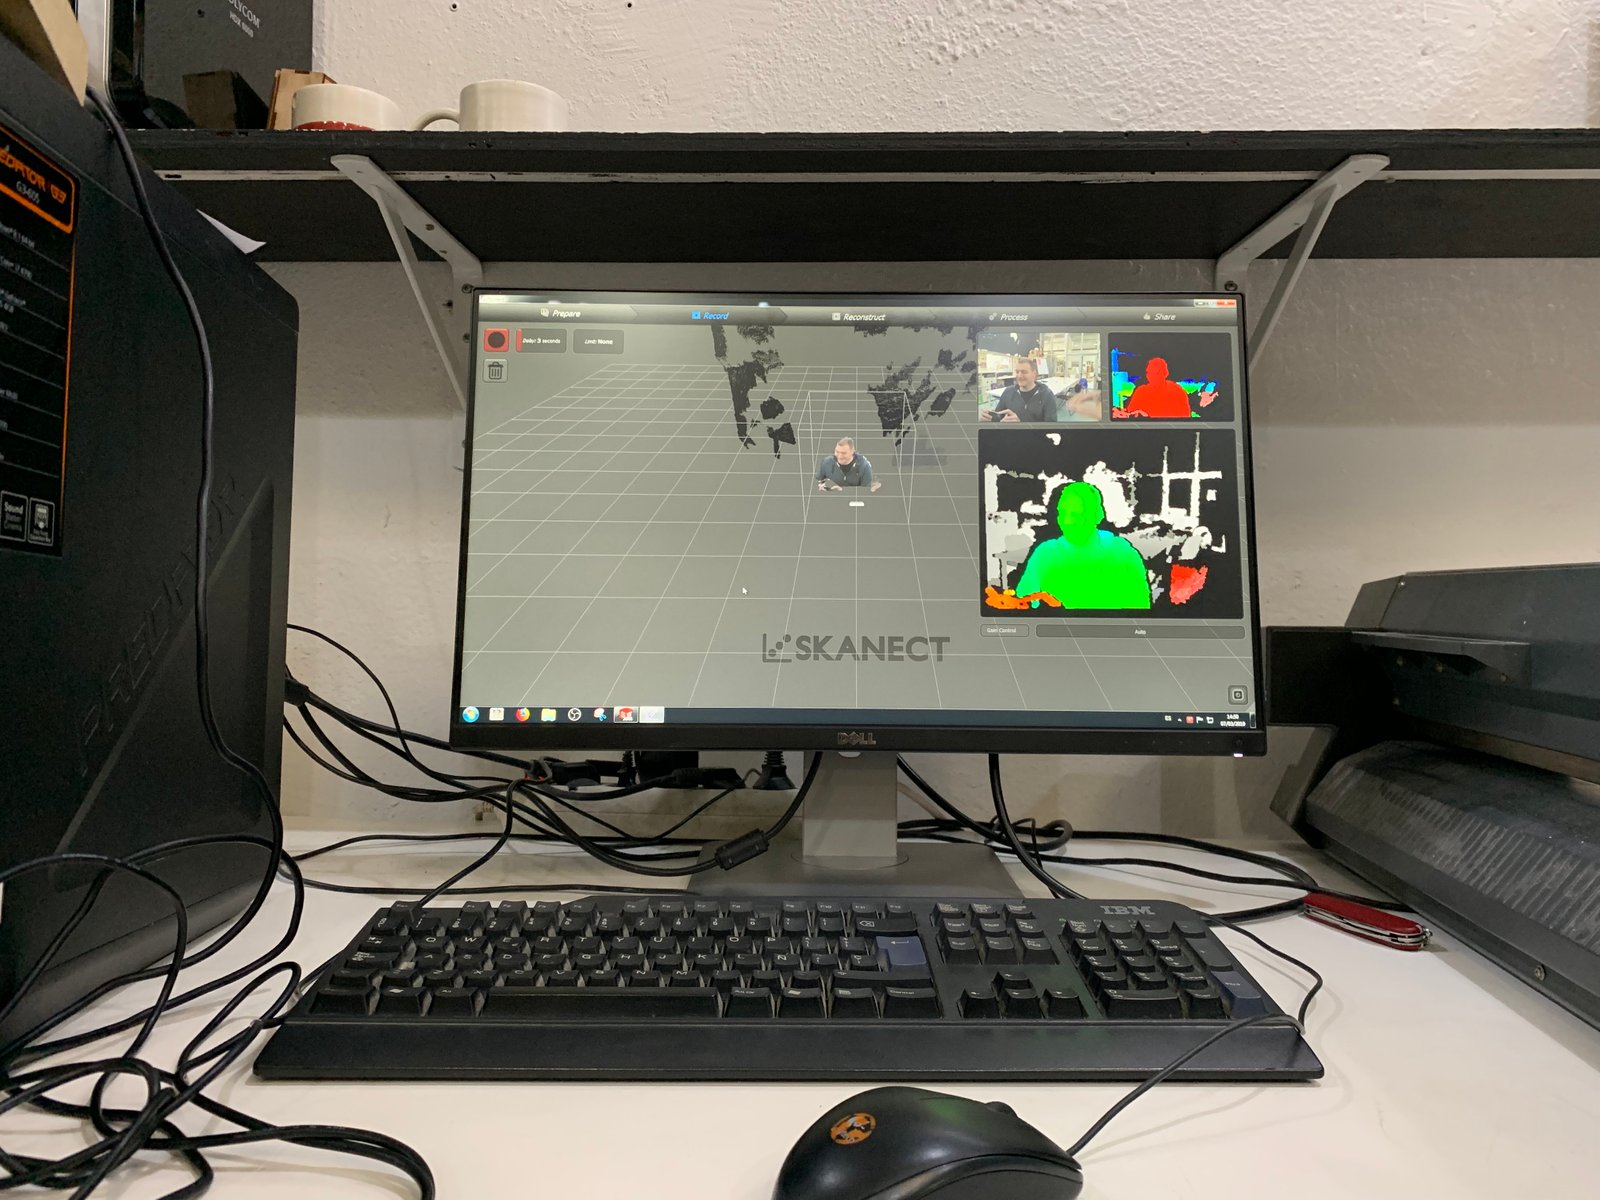
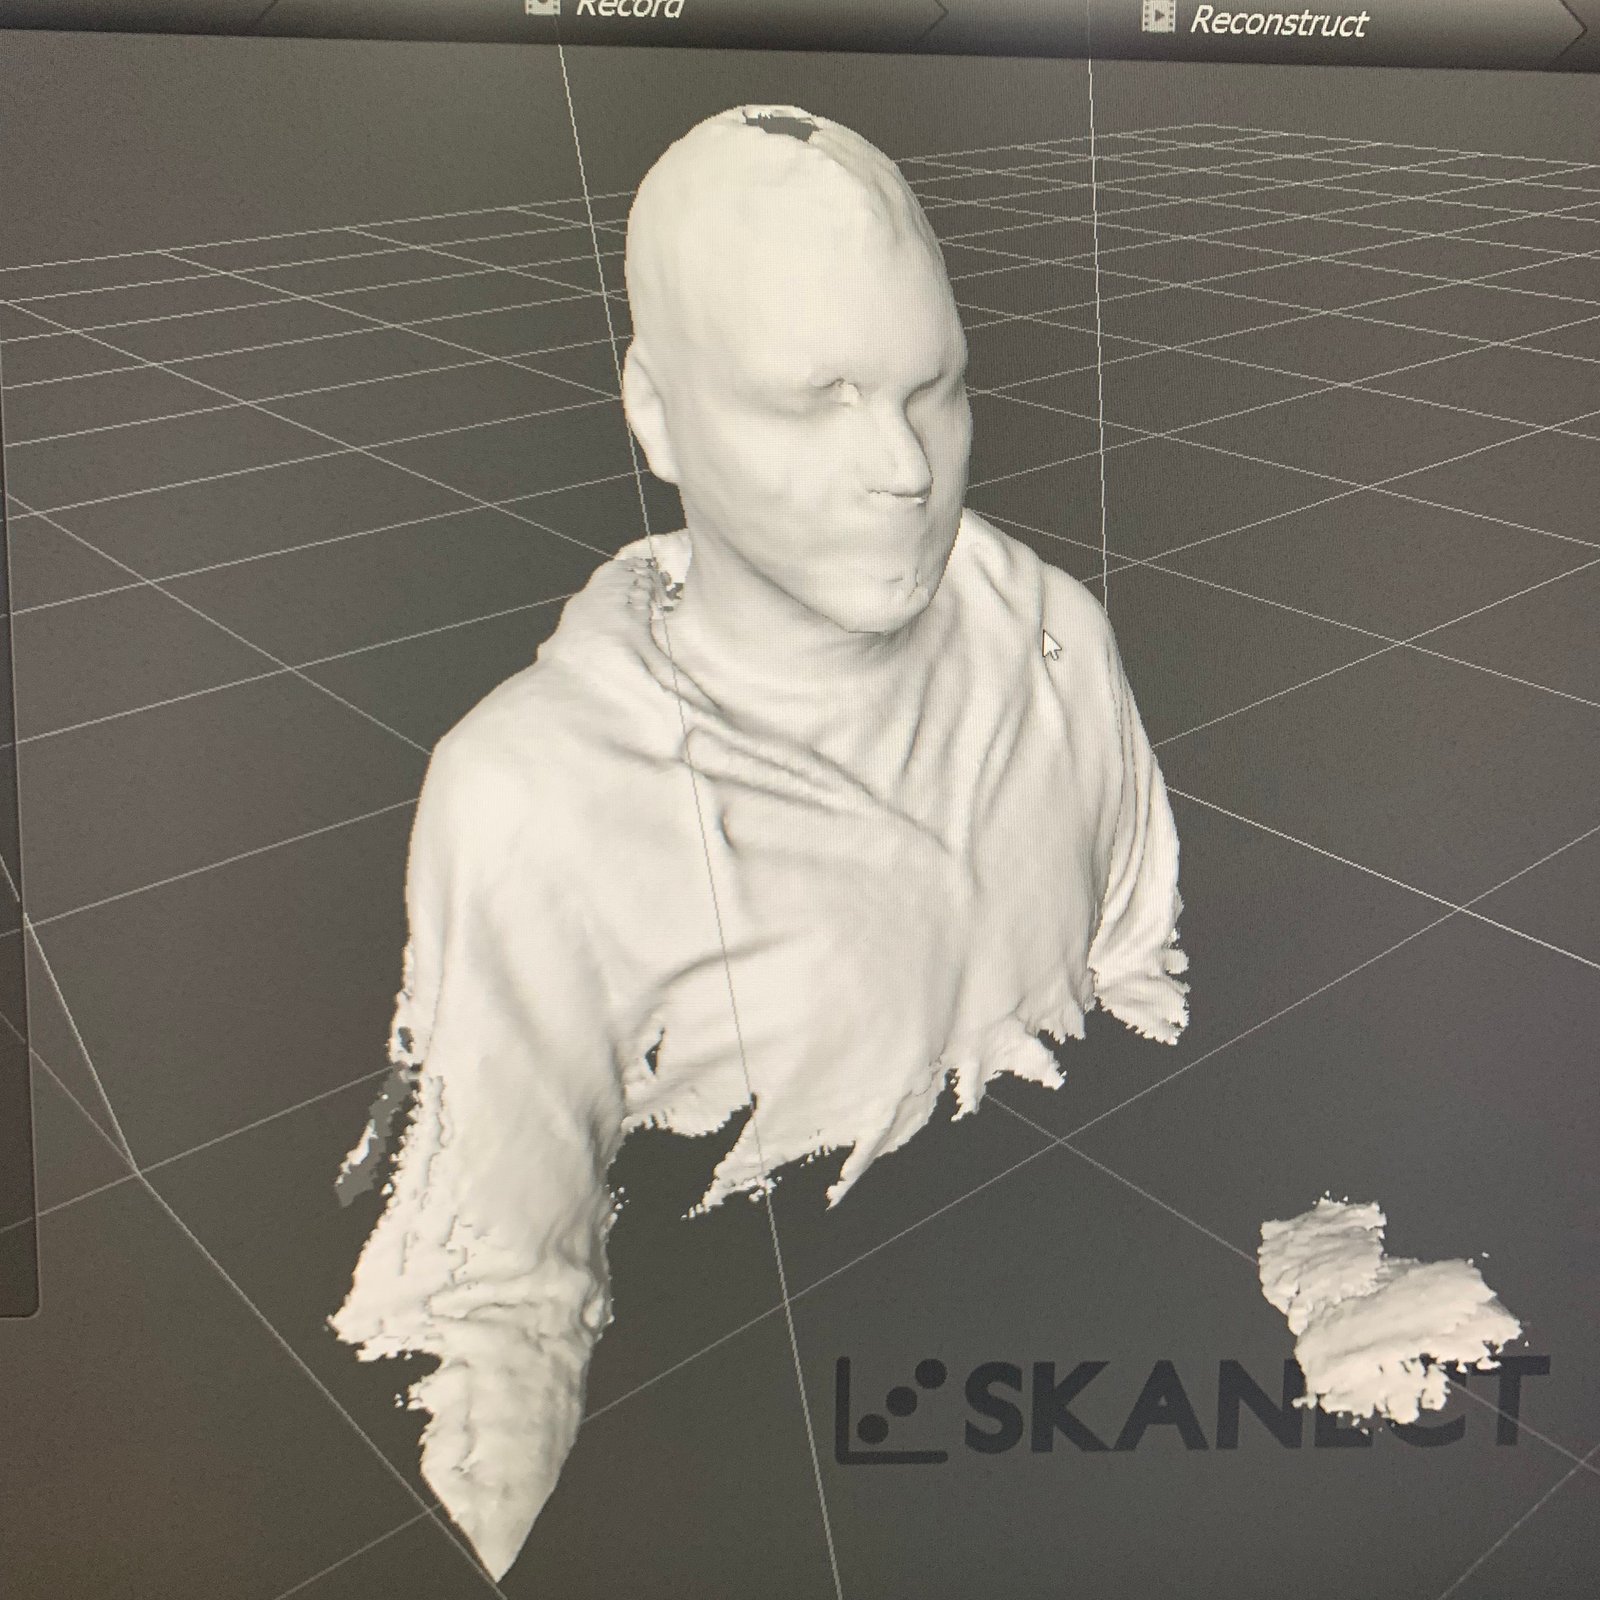
For 3D scanning I used Kinect and Skanect. I had to define the volume of the scanned object - that is myself in this case. I had to debug the distance from the Kinect first before I started scanning myself while rotating on a chair.
I exported the original scan in STL as well as the version with holes filled using Skanect.
